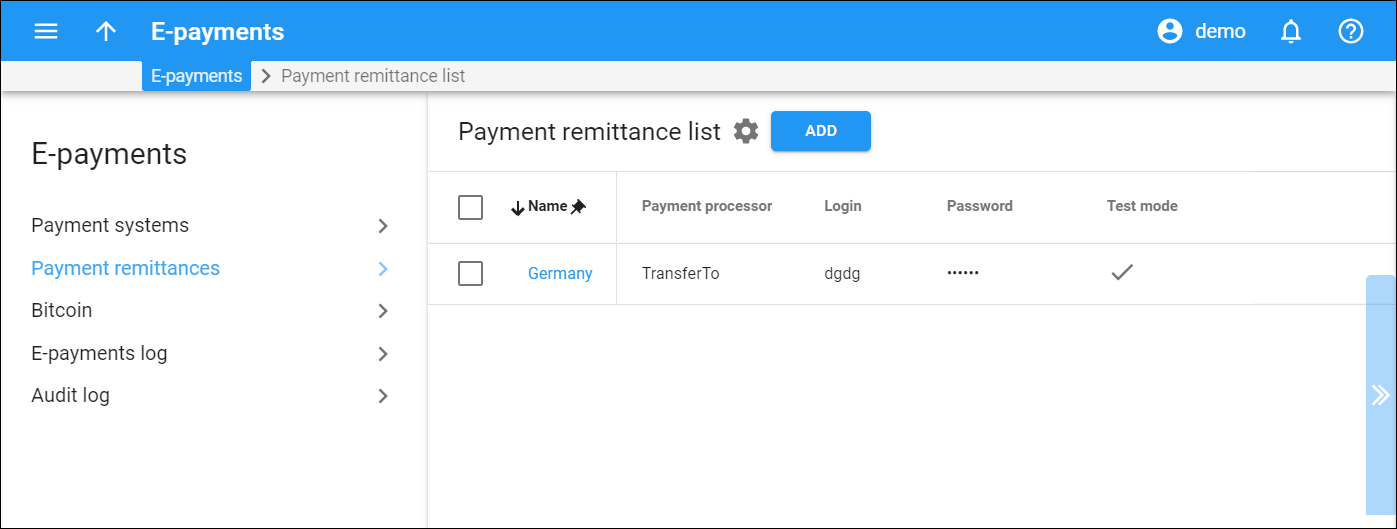
This panel displays the list of payment remittance systems. Here you can add/edit/remove a remittance system.
Each entry in the payment remittance list consists of:
- Name — the name of the payment remittance system. Click the name to edit the payment remittance details.
- Payment processor — the payment processor used for the payment remittance.
- Login — login to the payment processor account
- Password — password for the payment processor account.
- Test mode — Check mark
indicates that the remittance is created in the test mode. The test mode is useful during the initial setup phase, when a merchant may want to test its setup without processing real card data.
Add payment remittance
Payment remittance is a system that allows your users to transfer funds from their account balance to account balances of other users. It doesn’t matter if those users are in another country, the system still can transfer the funds.
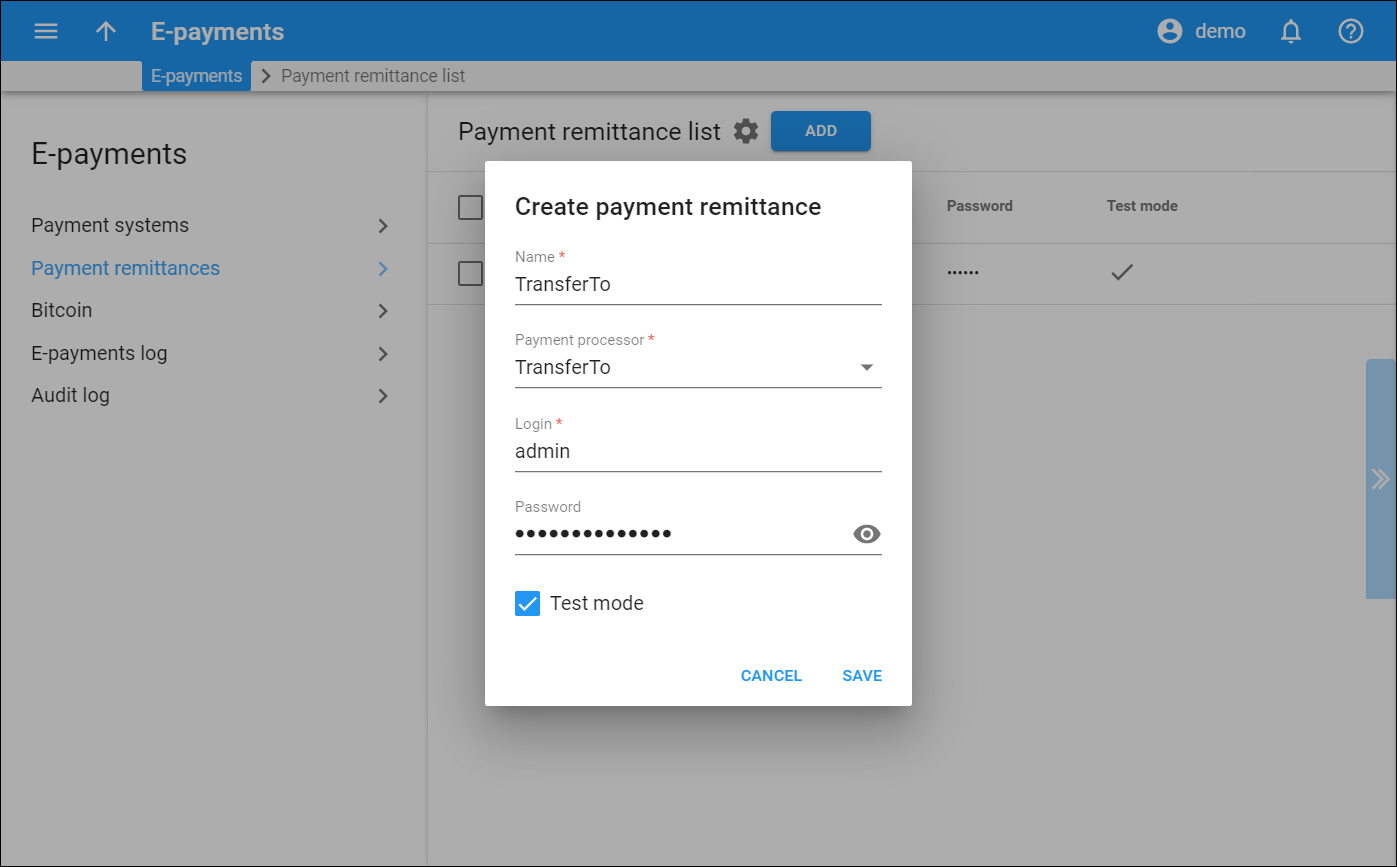
To add a payment remittance, click Add. Fill in the details in the dialog window that opens and click Save.
Name
Type in the unique name of the payment remittance.
Payment processor
Choose the payment processor that will perform transfers between accounts. To use the payment processor, register an account on its site.
Login
Type the login to the payment processor account.
Password
Insert a password for the payment processor account.
Test mode
When the checkbox is selected, the Test mode is used. Test mode is useful during the initial setup phase, when a merchant may want to test its setup without processing real card data.
Delete payment remittance
To delete a payment remittance, click the corresponding checkbox and click DELETE.
Edit payment remittance
To edit a payment remittance, click the corresponding remittance name. Change the details in the dialog window that opens.
Customize the panel
Change table settings – click Settings in the title bar to customize columns and change row style.
Re-order the columns – drag-and-drop the column headers right or left to place the columns in the order you want.
Re-order the rows – click Arrow (or
) next to the column header to re-sort the rows. For example, the Payment remittance list panel displays payment remittances in alphabetical order. You can re-sort them in the reverse order.
Change the default number of results globally – use the Number of results drop-down list in the upper right corner to adjust the maximum number of rows that appear on the panel. By default, the panel displays 25 rows. Once the number is changed, it’s automatically saved, so the same number of rows is shown for PortaBilling entities, e.g., customer, account, reseller, etc.


