“Bring your own device” support for cloud PBX customers
With “bring your own device” (BYOD), you can enable your PBX customers to seamlessly connect their own IP phones to PortaSwitch, so the phones are automatically provisioned with the correct settings. In PortaBilling, you only need to pre-configure the configuration profiles for popular IP phone models anticipated for BYOD. When one of your customers has phones they purchased from a previous or outside supplier, they can use the self-care portal to add those phones to the inventory and assign them to their employees’ phone lines. After that, the customer only needs to make a single configuration change on the phone, pointing it to your provisioning server – and from that moment the phone will receive all other information (enabled features, SIP credentials, and so on) automatically.
The ability for customers to manage their phones is available via the PortaBilling API, so it can be added to any in-house developed self-care portal; it is on the roadmap for the PortaOne’s Cloud PBX self-care portal and will appear there soon.
- PBX customers save money by re-utilizing IP phones they already have. The configuration process for them is as simple as possible and eliminates a chance of mistakes.
- No more manual configuration (or troubleshooting an incorrect configuration, done by the customer) when cloud PBX customers need to use their own IP phones with PortaSwitch.
Let’s say Panda Telecom has a new customer called ABC Company. ABC has IP phones they had already purchased from their previous supplier and wants to get them auto-provisioned.
Panda Telecom has implemented BYOD support in the self-care portal and pre-configured the configuration profiles for popular IP phone models (including ABC’s phone models). They inform the customer that it’s possible to manage their own IP phones via the self-care portal. They explain to the customer that, to auto-provision their IP phones, ABC simply needs to:
- Add/upload their IP phones to Panda Telecom’s self-care portal.
- Change the provisioning server address on the IP phones to Panda Telecom’s (e.g., https://pandatelecom.domain.com).
- Assign the IP phones to the employees’ phone lines (extensions).
Adam is the PBX administrator of ABC Company. To upload the IP phones, he goes to the portal and opens the device page. Adam downloads the file template (with all available columns in the required order) and fills in the mandatory columns:
Adam then uploads the file with the list of IP phones to the portal. He receives an email telling him that the IP phones have been uploaded successfully. Adam can see the corresponding records on the device page in the portal.
Adam can now manage the pool of company-owned IP phones. He can:
- Add new IP phones manually via the portal. For this, he fills in the IP phone details and saves the updated device list.
- Remove an IP phone. Adam sees that one of the IP phones he uploaded should not have been included, so he removes the IP phone from the device list.
- Edit the IP phone details. For example, after reprogramming an IP phone to use the PandaTelecom’s provisioning URL, he specifies “Re-programmed” in the phone description.
The IP phones from this pool can be assigned to ABC Company employees’ extensions (accounts) for auto-provisioning. If an IP phone is unassigned or an account is terminated, the IP phone remains in the device pool in the portal.
Find the PortaBilling configuration details here.
Mark IP phones as customer-owned
You can now mark an IP phone as “owned by customer” when it becomes the customer’s property – for example, if the customer purchased an IP phone from you. As customer-owned IP phones can’t be re-assigned to another customer and are automatically removed from PortaBilling when the customer record is permanently terminated, it will no longer be possible to assign an IP phone that belongs to one customer to a different customer by mistake.
- Avoid human error – assign only IP phones that are in your own pool to customers.
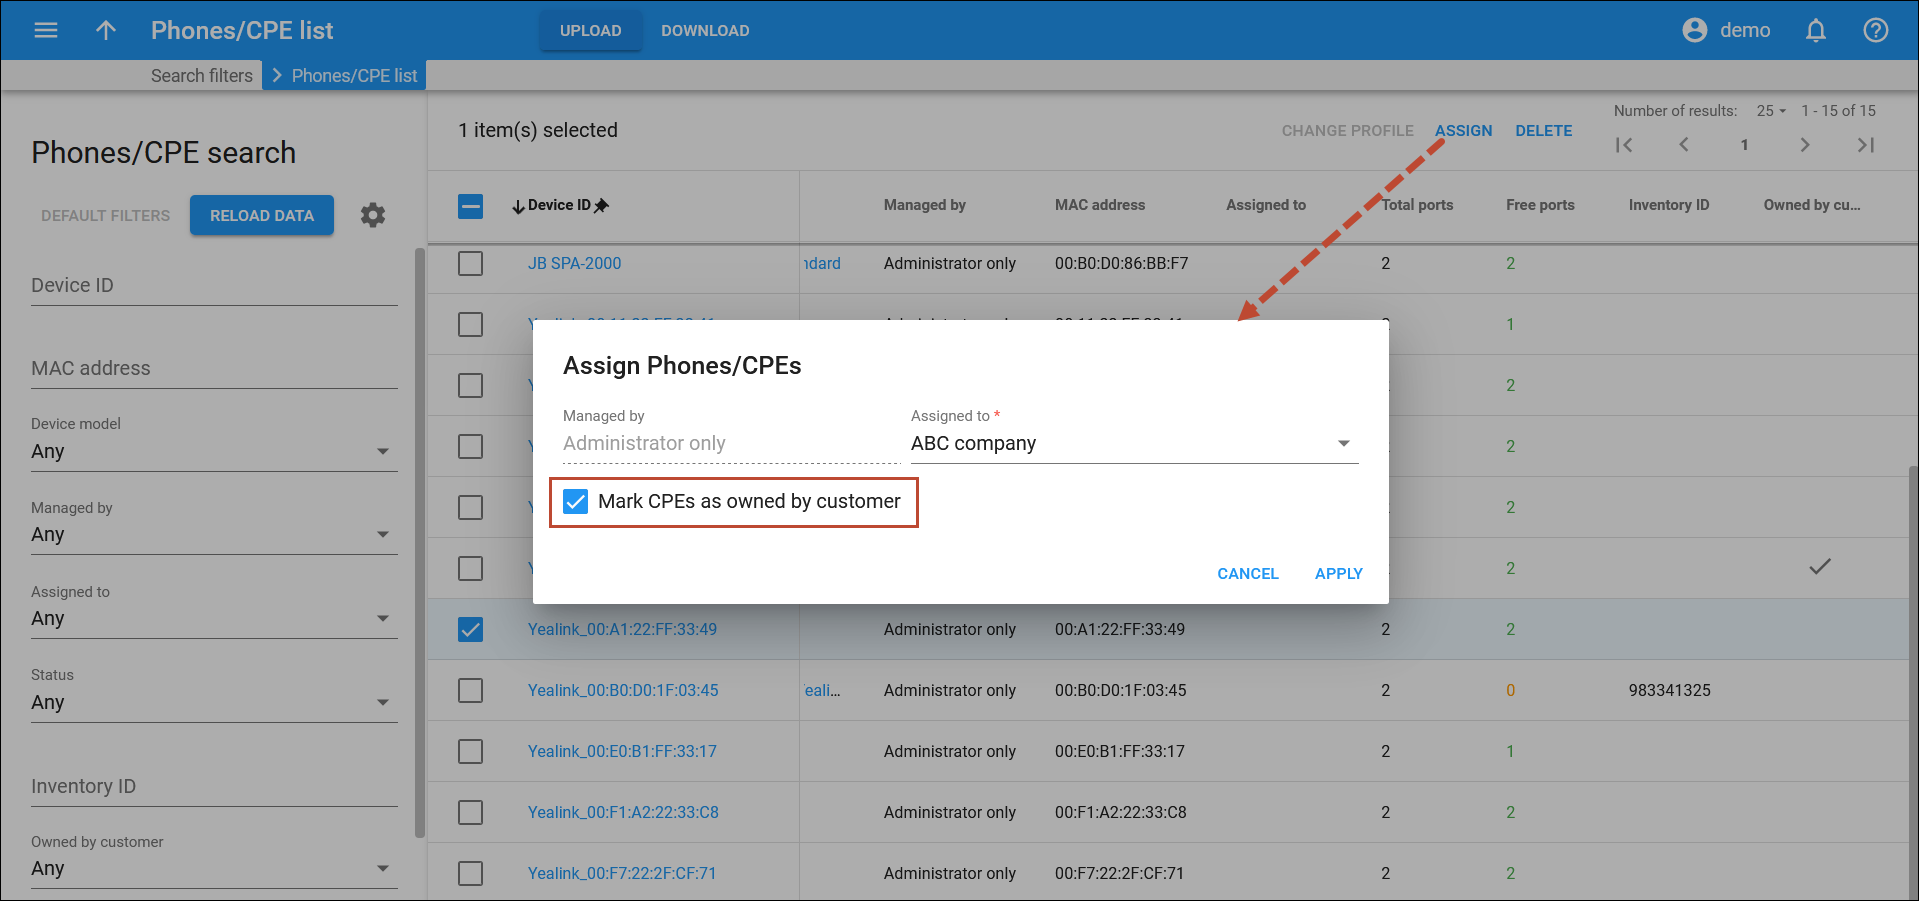
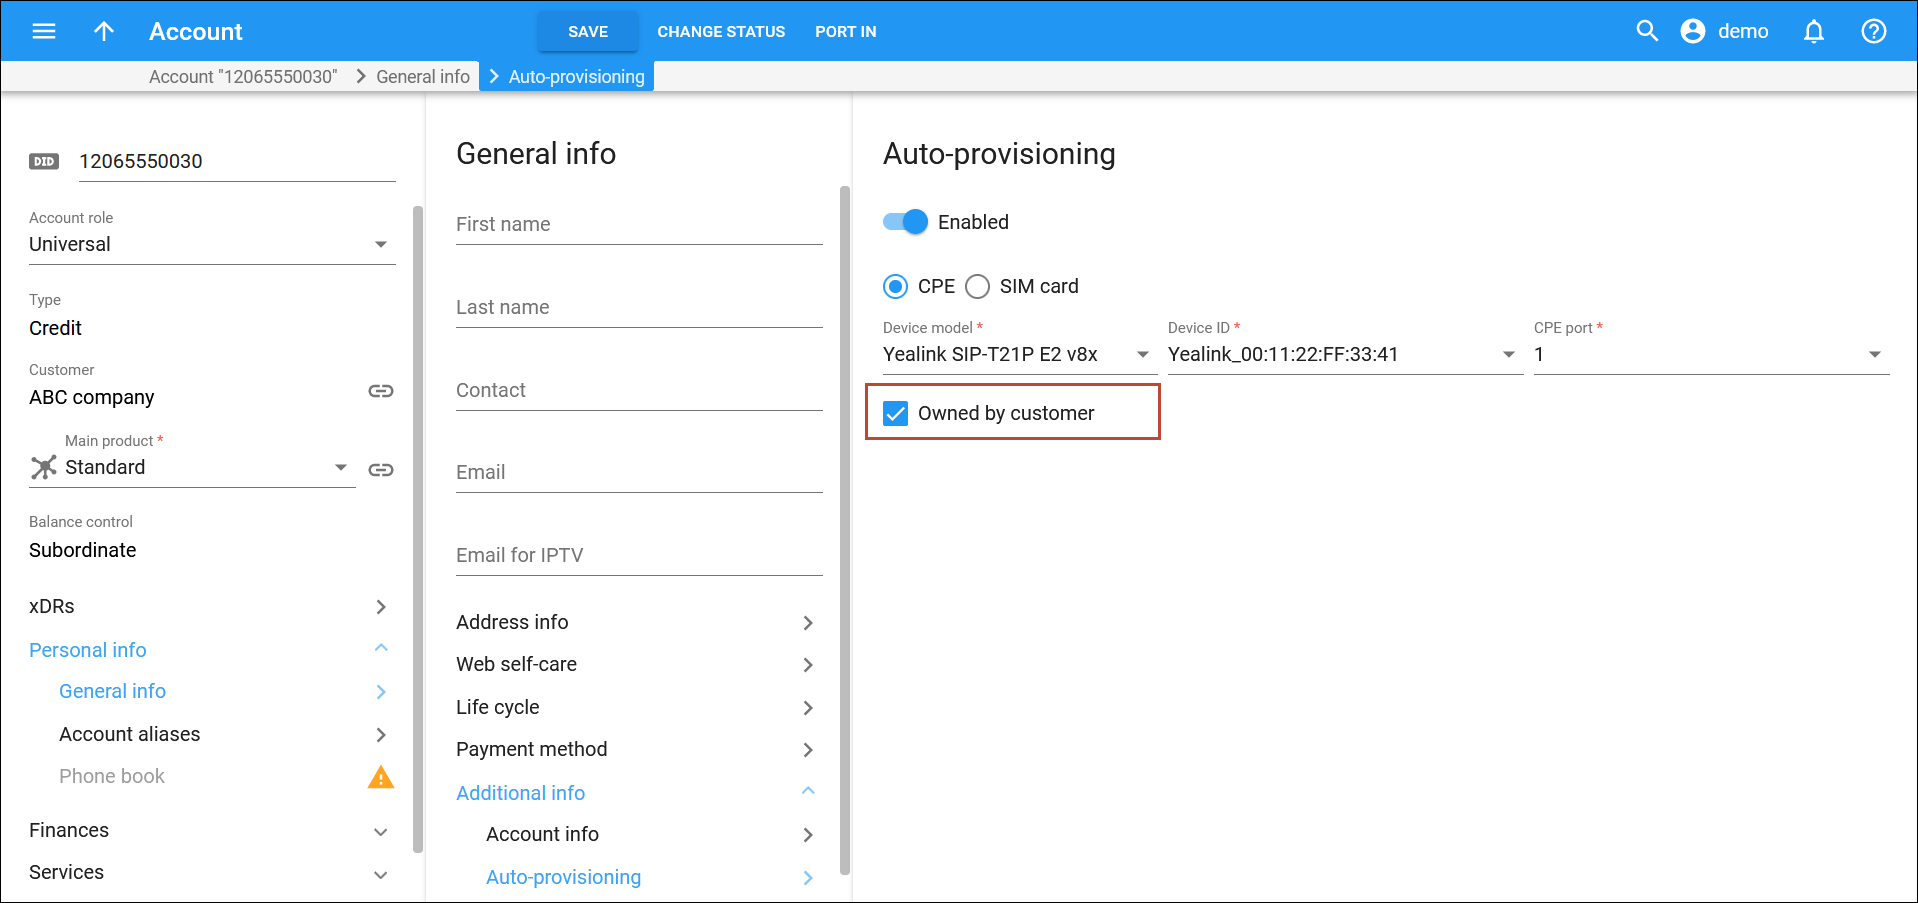
You can mark IP phones as “owned by customer” in two ways:
Also, you can clear the “owned by customer” checkbox for a specific IP phone if it doesn’t belong to the customer anymore. For example, say one of the purchased IP phones is not working, so the customer sends it back to you for a replacement. You find the returned IP phone in the CPE inventory by its MAC address and clear the “owned by customer” checkbox. Thus, if this IP phone is repaired, you will be able to later assign it to another customer.
Automated reseller login in Dual Version PortaSwitch
During migration via Dual Version PortaSwitch, your resellers can continue using their regular self-care interface URL (e.g., https://pandatelecom.com:8442). You don’t need to inform them about using temporary domains of the current release (“source”) and the new release (“target”) systems since after the login resellers are redirected to the specific system automatically.
This enhancement works in Dual Version PortaSwitch with the source system running MR85 and higher.
- Save time and effort by allowing your resellers to use the self-care interface URL they are used to.
Single-click login
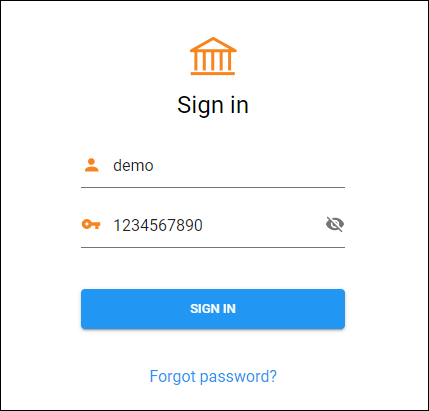
The PortaBilling login page has been re-designed to log in with a single click. It provides virtually instant access to the PortaBilling web interface.
The eye icon has been added to the password field. Now you can verify the password before signing in to the system.
This enhancement allows you to sign in with just a single click.
Apply a multi-month prepaid plan right from the creation of an account
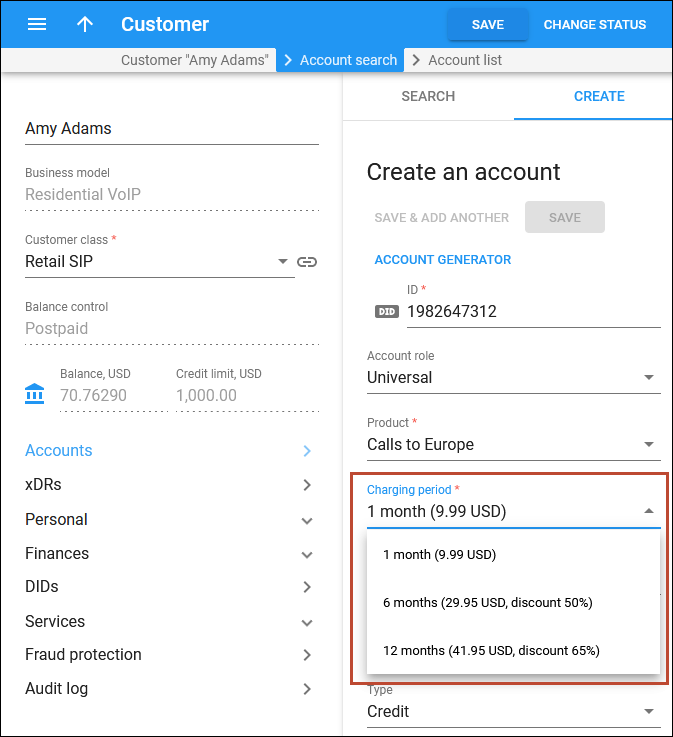
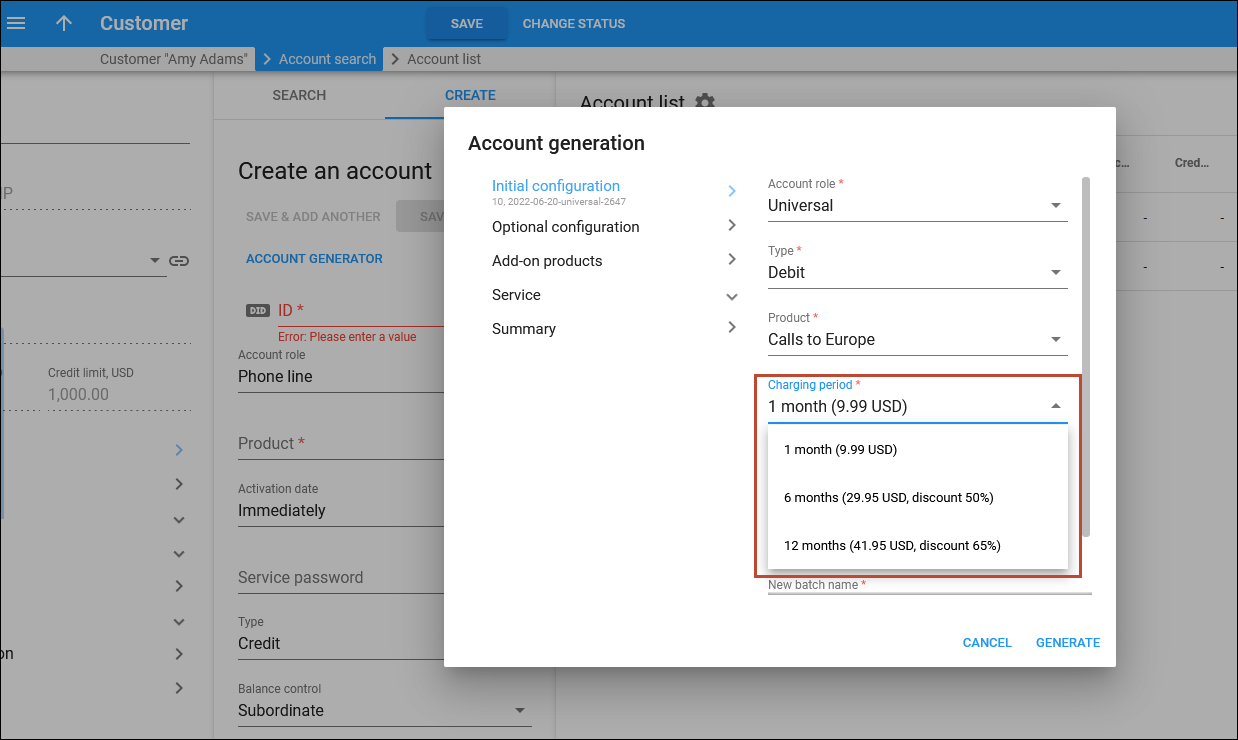
With this enhancement, you can apply a specific multi-month prepaid plan, e.g., for 6 months of use, while creating an account.
The list of available prepaid plans is configured in the in-advance subscription assigned to the product. When you choose such a product for the account, you have to select the charging period for the subscription.
You can also apply prepaid plans while generating a batch of accounts. You have to select the charging period for the main and each add-on product that includes the in-advance subscription with the multi-month prepaid plans.
This enhancement saves time as you can apply the prepaid plans right at creation or generation of accounts.
Additional clarity for incompatible add-on products
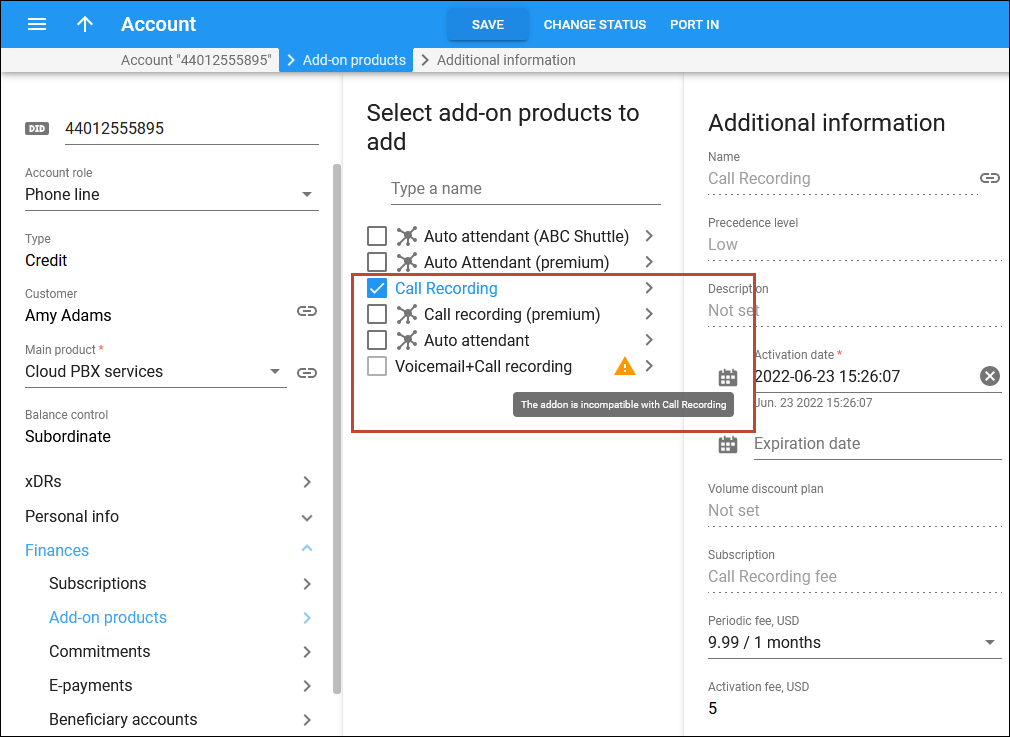
With this enhancement, you have a clear explanation about add-on product incompatibility while assigning it to the account.
Incompatible add-on products become read-only and a warning sign is displayed next to each add-on product causing a conflict. This happens when the account has the same subscription assigned directly, via main/add-on product or commitment and this subscription can’t be applied more than once. You can see the incompatible product/commitment name in the tooltip, when you hover over the warning sign.
This enhancement helps you to understand the reason for a specific add-on incompatibility and saves time while assigning multiple add-on products to an account.


