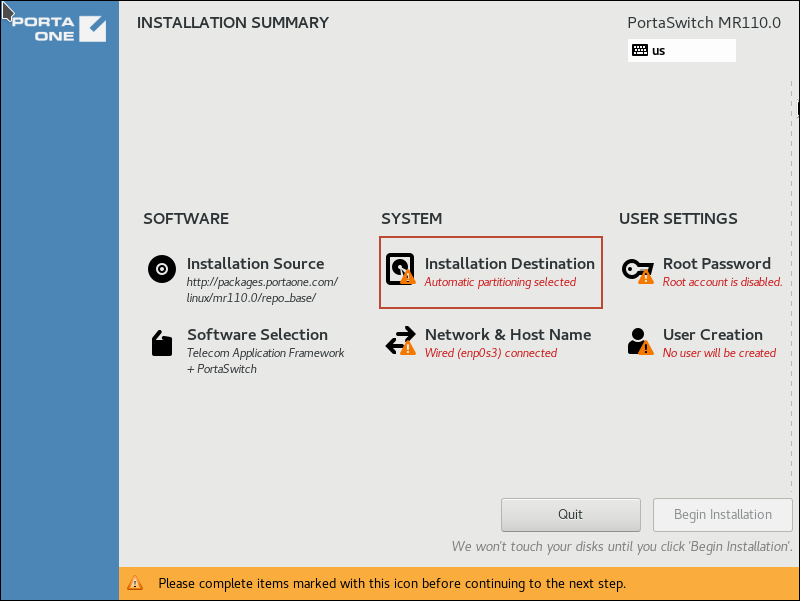
- On the Installation summary page, choose Installation destination.
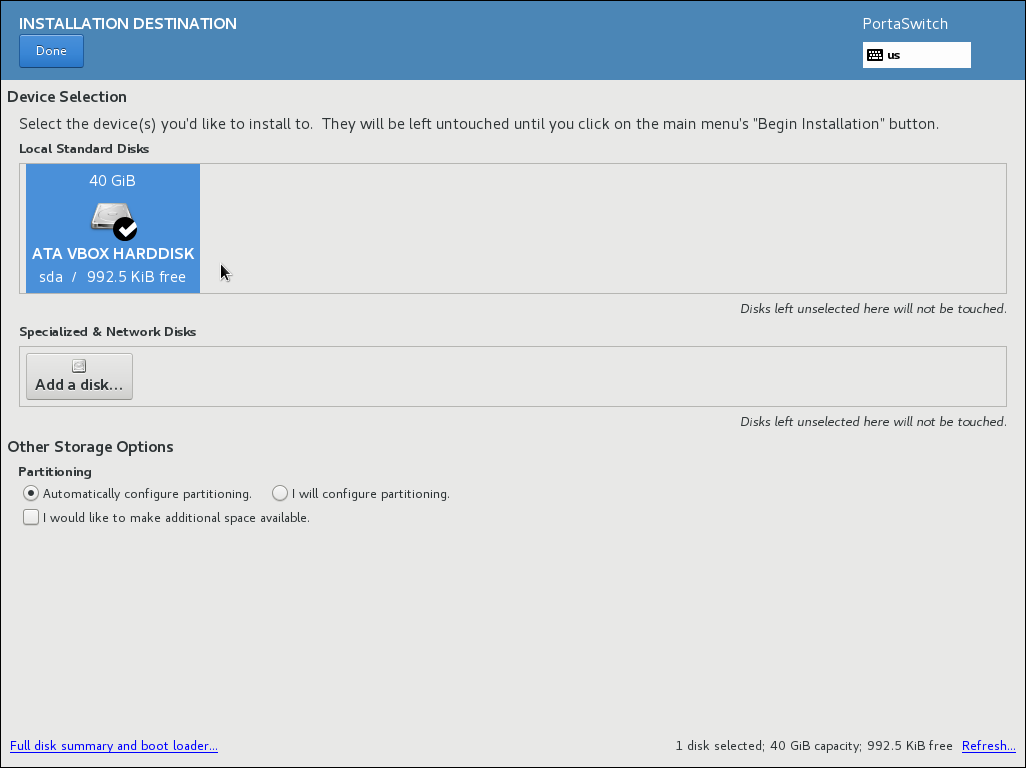
- In the Device Selection section, go to Local Standard Disks, and select the local disk you want to install PortaSwitch to. You can click the Full disk summary and bootloader link at the bottom left side of the page to see full information about each disk.
- In the Other Storage Options section, go to Partitioning, and choose Automatically configure partitioning.
Although it is possible to manually alter the partition layout on the volume, do not alter the default partition layout unless you have a deep knowledge of PortaSwitch architecture and a specific reason to make adjustments, as it can cause serious issues during future PortaSwitch software upgrades. If you do choose to alter the default partition layout manually, you must select the LVM partitioning scheme. It is required for successful operation of PortaSwitch and to perform future software upgrades.
- Click Done.
Selected disks will be left untouched until you click the Begin installation button on the Installation Summary page.


