



Once you have installed the software on the servers, you have a blank system that can be configured in various ways to meet your business requirements. The Configuration server allows you to specify a role or even a set of roles to be assigned to each server. This chapter will demonstrate how to set up the initial configuration of the system.
Configuration overview
- Add servers
- Add IP addresses
- Create a configuration
- Add instances in the recommended order
- Apply the configuration
- Create new billing environments if required
Add servers
Adding servers is the first step of your initial system configuration (depending on your specific type of installation, the number of servers can vary).
- Go to the Servers tab.
- Click Add on the toolbar, and fill in the fields in the Server details dialog box:
 When adding a server to the installation on this page, an IP is specified. This IP is automatically considered internal, so it and its NIC become read-only in the Network configuration UI.
 - Click Save.
Add IP addresses
Once you have added servers, you can add public IP addresses that will be assigned to the particular instances in the later steps of the PortaSwitch configuration.
- On the Servers tab, choose the server for which you wish to add a public IP address, and click
 Change server configuration.

- Go to the Network tab, click
 Add, and choose IP address.
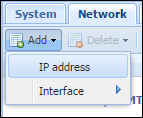
- In the IP address dialog box, specify the following information:
- Interface – you can select only the public interface here
- IP address
- Netmask
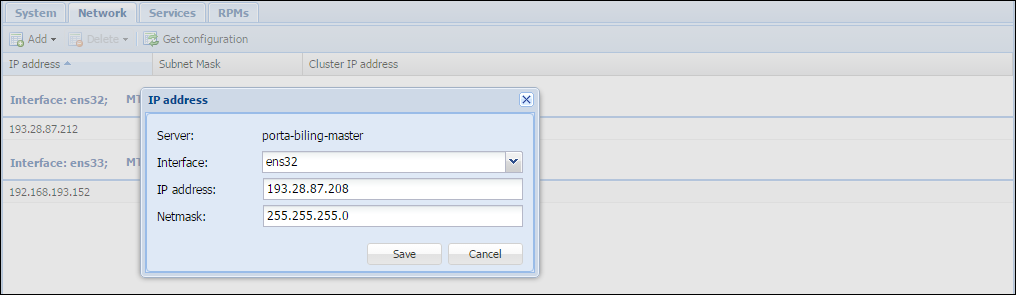
- Click Save.
In case you want to run several service instances on one physical server, you need to first associate the additional IP addresses with the public network interface of the server (this process is called "IP aliasing"). To do this, repeat steps 1–4, and specify the required IP alias in step 3.
Create a configuration
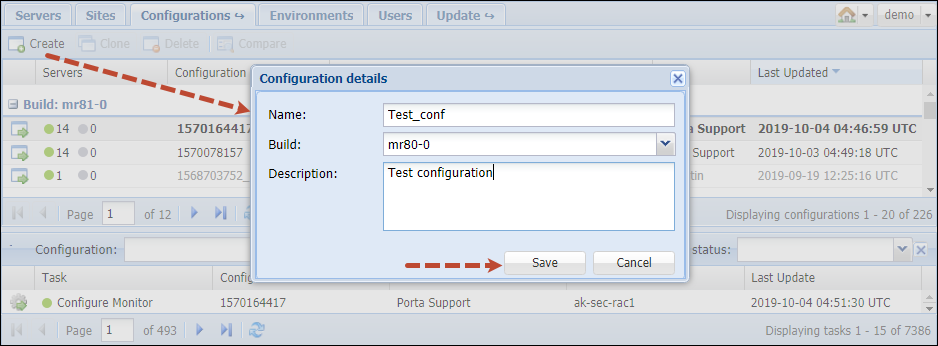
After you have added all the required servers, go to the Configurations tab. Here you can create a configuration to fit your needs. To create one, click Create, specify its name and description, and choose which software version it applies to.
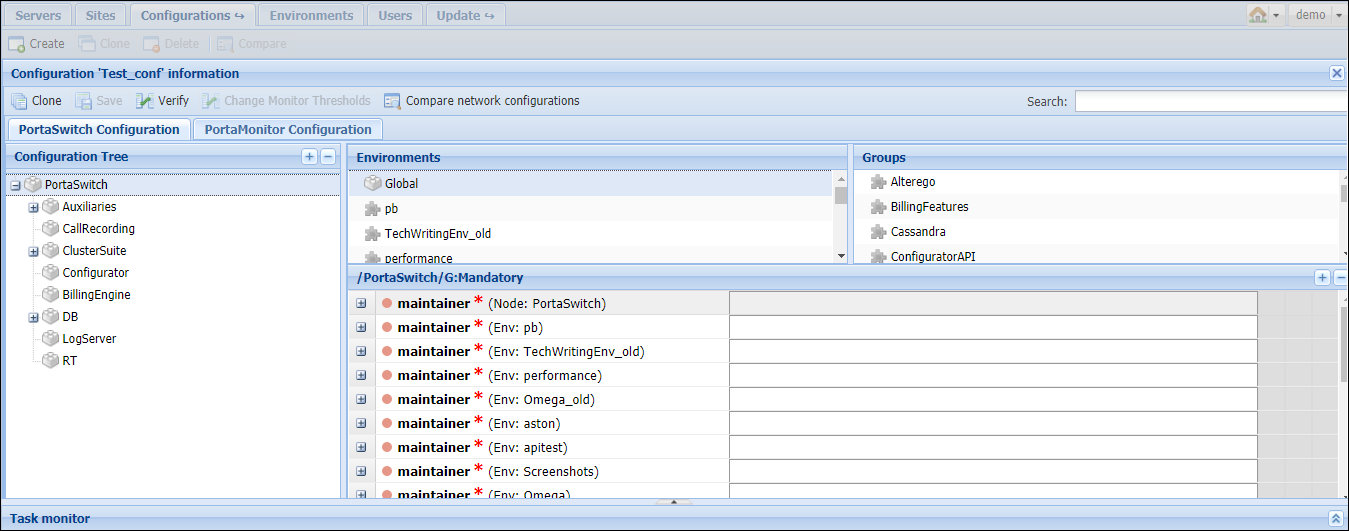
You will see a Configuration Tree, Environments, Groups panels, and the panel where all the information about a given service is shown.
Add instances
When adding instances, follow these rules:
- If there are two or more instances that depend on the Apache web server (currently, these are Web and RT), they must be configured with different IP addresses (‘service IP’) or ports. Otherwise, the Configuration server will display warnings during the configuration check and the configuration will not be applied.
- To ensure reliable operation of the system, never place the following instances on the same server:
- MasterDB and ReplicaDB
- BillingEngine and LogServer
Use this list to follow the required order of actions. Each step is described in detail in the sections below.
- Add three Cassandra instances
- Add MasterDB instance
- Apply the configuration
- Add ReplicaDB instance
- Apply the configuration
- Add BillingEngine instance
- Add Web cluster instance
- Add a SIP cluster and define its virtual IP address
- Add two DispatchingNode instances
- Add two ProcessingNode instances
- Add Opensearch instance
- Add VoiceMailDB, LogServer, and CallRecording instances
- Apply the configuration
- Add additional instances (optional)
- Apply the configuration
1. Add three Cassandra instances
1.1 From the Configuration Tree, choose DB > Cassandra.
1.2 Click Instance create. In the Instance details dialog, choose which server this instance will run on and its service IP, then click Save.
1.3 Repeat steps 1–2 to add two more Cassandra instances on two other servers.
2. Add MasterDB instance
2.1 From the Configuration Tree, choose DB > MySQL > MasterDB.
2.2 Click Instance create. In the Instance details dialog, choose which server this instance will run on and its service IP, then click Save.
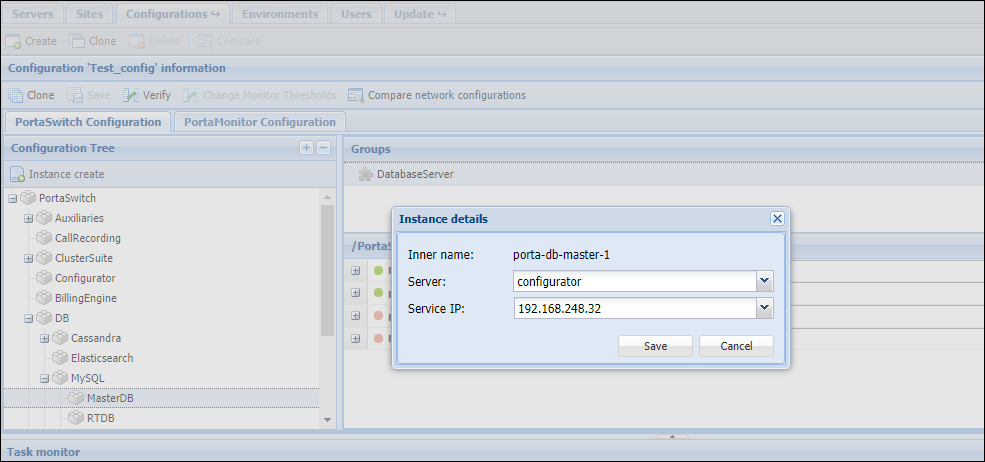
2.3 Specify all required options of the newly created instance.
2.4 Repeat steps 2.1 - 2.3 to add a StandByDB instance, if required.
3. Apply the configuration
3.1 Click Save and Verify.
3.2 Verify the new configuration and click Check/Apply to see whether the configuration is valid (e.g., all the required options have values assigned to them).
3.3 Next, click Apply. As soon as the configuration is applied, you will see this action displayed at the bottom of the Task page.
4. Add ReplicaDB instance
4.1 Clone the applied configuration. To do this, click Clone on the Toolbar.
4.2 From the Configuration Tree, choose DB > MySQL > ReplicaDB, and click Instance create. Fill in the fields in the Instance details dialog and click Save.
5. Apply the configuration
Repeat step 3 to finish the process of adding the ReplicaDB instance.
6. Add BillingEngine instance
From the Configuration Tree, choose BillingEngine. Add the BillingEngine instance as described in steps 2.2 and 2.3.
7. Add Web cluster instance
7.1 From the Configuration Tree, choose ClusterSuite > Web Cluster and then click Create cluster. In the Cluster details dialog, select the site for which the Web cluster will be configured. Click Save.
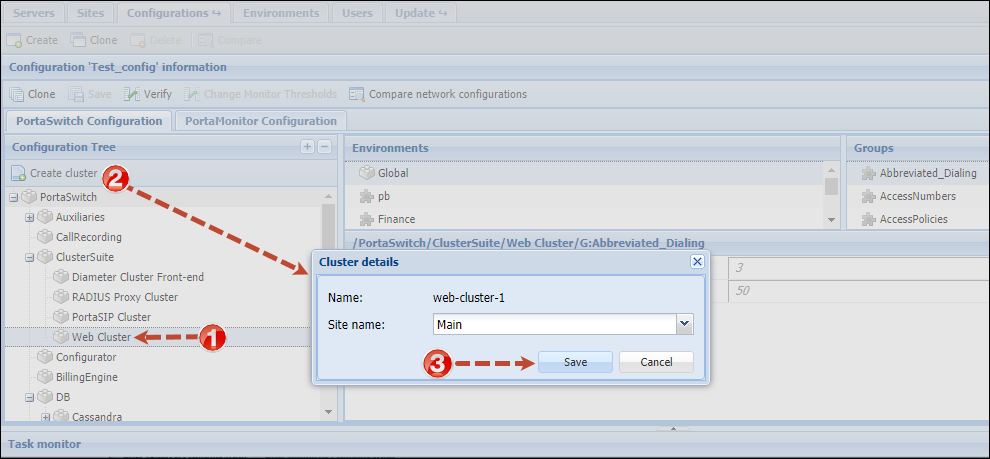
7.2 Click Instance create. Select the server this instance will run on and its service IP. Click Save to save the instance.
8. Add a SIP cluster and define its virtual IP address
8.1 From the Configuration Tree, choose ClusterSuite > PortaSIP Cluster and then click Create cluster. In the Cluster details dialog, select the site and environment for which the PortaSIP cluster will be configured. Click Save.
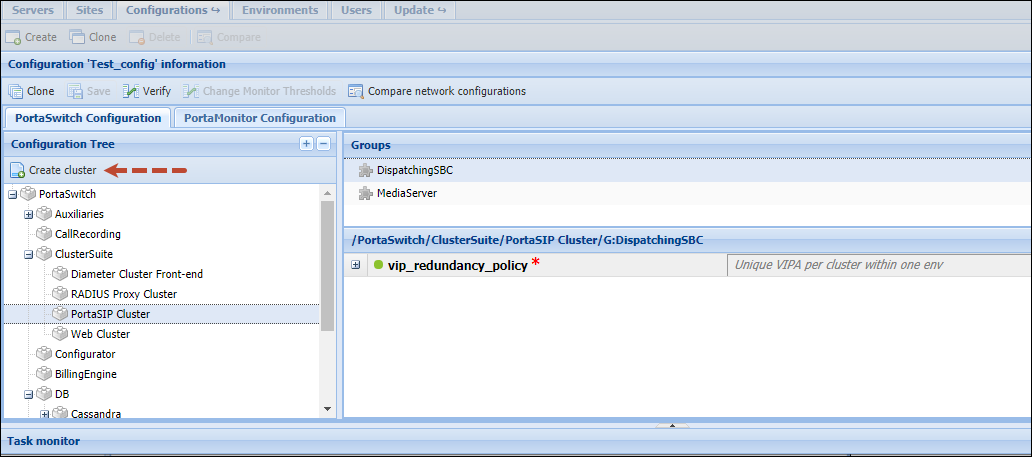
8.2 Choose the newly created SIP cluster and specify its virtual IP address in the vipaddr field of the DispatchingNode group.
8.3 Specify the cluster domain name in the sip_domains field of the DispatchingNode group. The domain name must resolve to the virtual IP address. To add another domain name, click Add .
8.4 Specify the domain names for callback and voicemail services in the callback_domain and email_domain fields of the Media Server group. We recommend that callback and email domain names resolve to the virtual IP address.
9. Add two DispatchingNode instances
9.1 Click Instance create. Select the DispatchingNode instance type, then select which server this instance will run on and its service IP, then click Save.
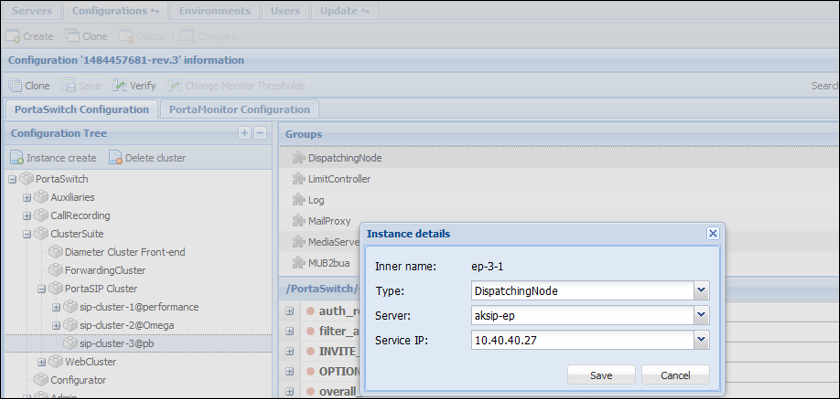
9.2 Add another DispatchingNode instance by repeating step 9.1.
10. Add two ProcessingNode instances
10.1 Choose the relevant SIP cluster and click Instance create. Select the ProcessingNode instance type, then select which server this instance will run on and its service IP, then click Save.
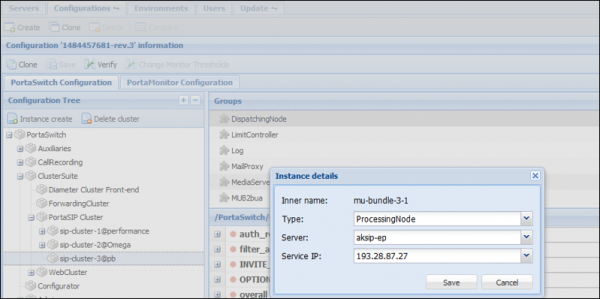
10.2 Repeat step 10.1 to add the needed number of ProcessingNode instances.
11. Add Opensearch instance
11.1 From the Configuration Tree, choose DB > Opensearch and then click Instance create. In the Instance details dialog, choose which server this instance will run on and its service IP, then click Save.
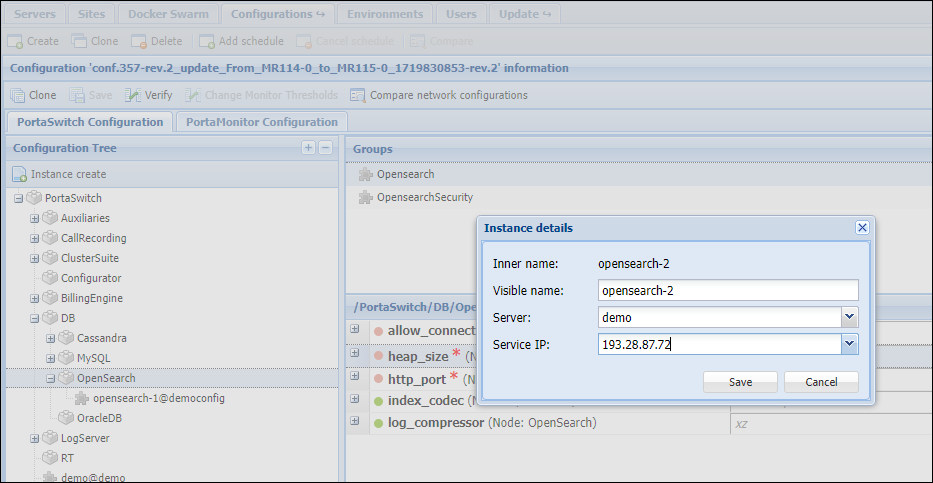
11.2 Configure the heap_size for the Opensearch instance depending on the available RAM. The recommended heap size value is in the range of 25% to 50% of RAM.
12. Add VoiceMailDB, LogServer, and CallRecording instances
Add the VoiceMailDB, LogServer, and CallRecording instances just as you did for the previous ones.
13. Apply the configuration
Repeat step 3 to finish the process of adding the above instances.
14. Add additional instances (optional)
Add other instances (e.g., ESPF) as described in the previous steps.
Instances necessary for a secondary site
If you are deploying your PortaSwitch across multiple sites, note that for a secondary site to provide all the necessary services in stand-alone mode, the following minimum set of instances must be configured on it:
- BillingEngine – this instance calculates applicable charges according to product, tariff, and other billing parameters.
- PortaSIP cluster instances: one Dispatching Node and one Processing Node – each of these instances is necessary for voice termination, transmission of instant messages, and Media Server functionality. These instances are not required if you do not provide any of these services (for example, if you exclusively provide Internet access).
- OracleDB or StandByDB (depending on what type of database you use, Oracle or MySQL) – StandByDB is an actual replica of the MasterDB, providing all the information about existing accounts, products, service configuration, etc., when the MasterDB is unavailable. Note that new xDRs are stored in a special database with deltas. You do not need to add those instances independently. When the primary site becomes available again, information from the database with deltas is synchronized into the MasterDB. For Oracle, the procedure is similar, but in this case, a database administrator manually defines which OracleDB instance is for the "master" database, which one for "standby", and which one for the "database with deltas".
- Web cluster – while the web interface is not available in stand-alone mode, this instance also runs Apache services that are responsible for the callback feature and several other voice applications, and also XML/JSON API access. Configure this instance if you require such functionality in stand-alone mode.
- LogServer – this instance is responsible for storing BE logs and together with Opensearch, for storing SIP logs.
You can check all stand-alone mode restrictions here.
15. Apply the configuration
Make sure you apply the configuration after all the required instances are added and their options are set.
Create new billing environments if required
Follow these instructions to create additional billing environments in your installation, if required.


