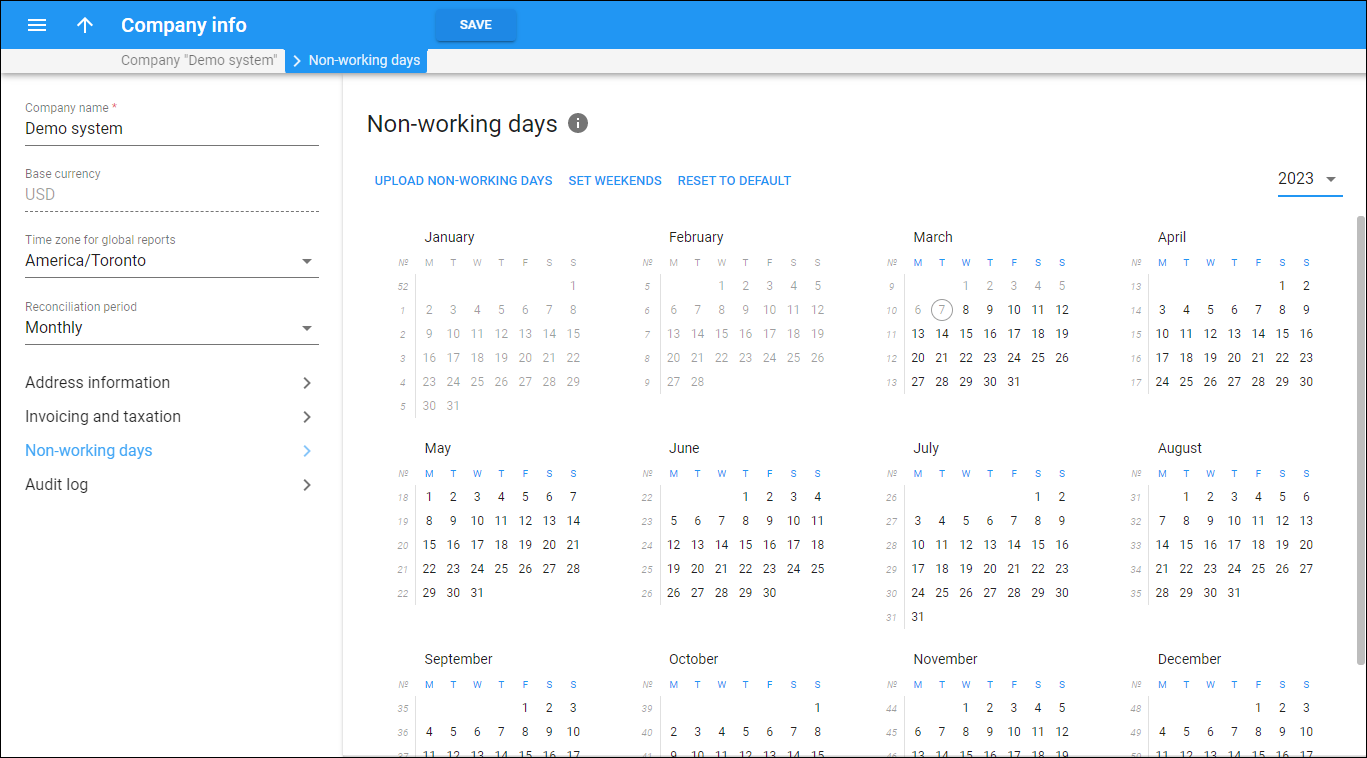
On this panel, you can manage the calendar with working and non-working days such as weekends and public holidays. Non-working days enable to shift the date of the customers’ service limitation/suspension to the nearest working day.
For example, a customer hasn’t paid an invoice and their service is suspended on Sunday. If Sunday is marked as a non-working day in this calendar, the service suspension automatically shifts to Monday. Refer to the Shift the date for service limitation/suspension section for more details.
The calendar shows the current year. You can select the next year in the drop-down list.
By default, all days are considered as “working.”
How to mark days as non-working
- Set a single day – click on a specific day in the calendar.
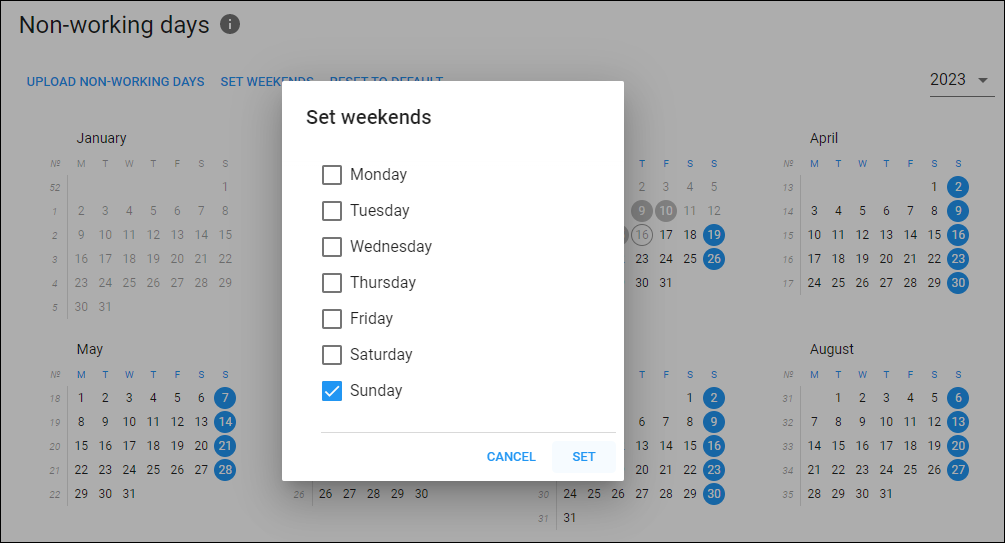
- Set weekends – you can set weekends for a specific month or for all months at once.
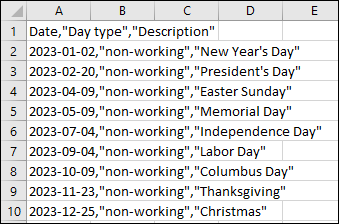
- Upload the file with marked non-working days – you can prepare a .csv file with working and non-working days, e.g., public holidays, and upload it to the system. Click Upload non-working days on the toolbar and in the Upload file with non-working days dialog click Drop a file or browse for it field or Browse
 to upload the file.
The .csv file should have the mandatory columns:
To save changes, click Save.
How to unmark the “non-working” days
If you want to mark the day as “working”, e.g., it was previously marked as "non-working" by mistake:
- Set a single day – click on a specific day in the calendar.
- Set weekends – click on the column header that corresponds to a specific day of the week.
- All days – click Reset to default on the toolbar, and the calendar is reset to default where all days are marked as working.
To save changes, click Save.


