Typically, this step is done by your service provider.
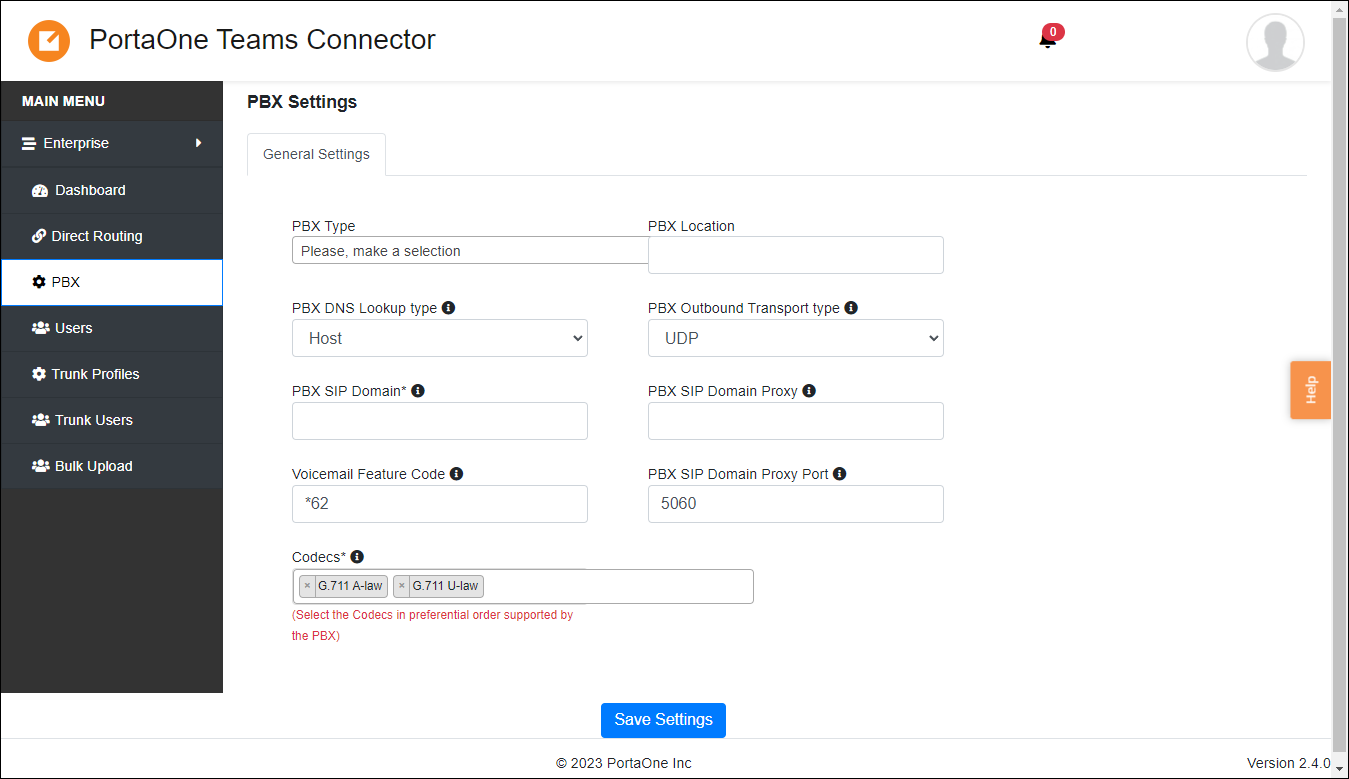
You can add a PBX on the Enterprise portal if you have the required parameters:
3.1 Log in to the Enterprise portal.
3.2 Go to PBX Management > click Add PBX.

3.3 Fill in the details:
- PBX Type – select PortaSwitch.
- PBX Location – you can specify a generic name if a single PBX is used (if you plan to add multiple PBXes, specify a descriptive PBX location name).
- PBX Transport Type – this is the protocol that PBX supports for user registration. The most common protocol is UDP. See the details here.
- PBX DNS Lookup Type – this is a method that is used to look up the SIP registration location. Select Host.
- PBX SIP Domain – specify the domain received from the service provider (Teams users will be created with this domain).
- PBX SIP Domain Proxy – specify the value received from your service provider.
- Voicemail Feature Code – this is the service code that Teams users can dial to check voicemail. Specify *98.
- PBX SIP Domain Proxy Port – enter the value received from your service provider (by default, 5060).

3.4 Click Save Settings.
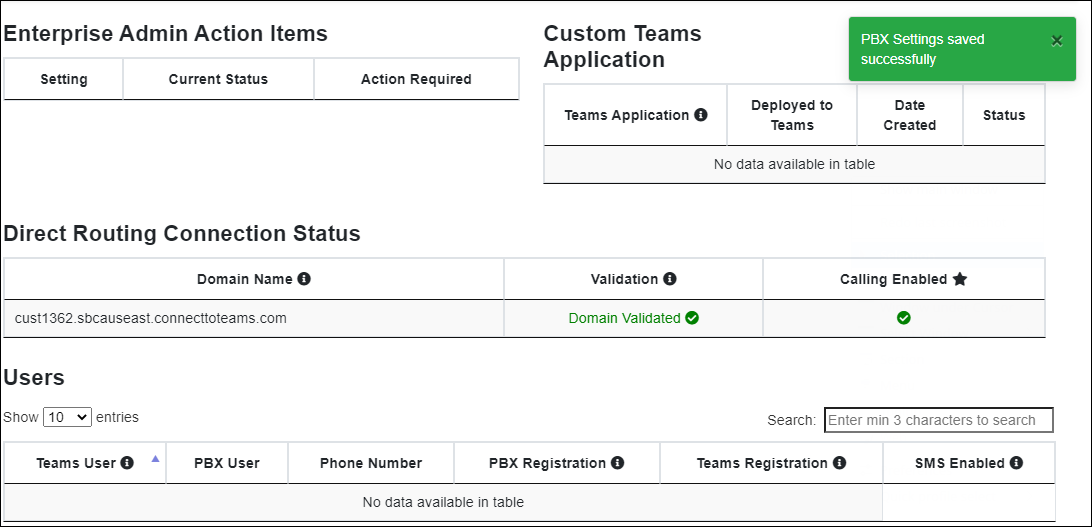
After that, you will see the notification about the successfully added PBX.


