Once your free trial/paid subscription is activated, you can deploy your branded Mobile Account Self-Care Portal:
Preparation steps
Before proceeding with the module configuration and deployment, perform the following steps:
- Configure domain
- Obtain SSL certificates for the domain
- Add the portal domain to the list of trusted domains
- Prepare a logo and a favicon
Step 1: Configure domain
You need to configure a “portal” domain (e.g., mobile-self-care.company.com) that will be used as a portal URL your customers open in their browsers.
When configuring DNS for this domain, you need to specify the corresponding IP address depending on the location, find the IP addresses here.
Step 2: Obtain SSL certificates
Choose one of the following ways to obtain SSL certificates for the domains configured at step 1:
Generate automatically (recommended)
SSL certificates can be generated for you automatically. All you need is to configure domains as described in step 1. The certificates will be generated by PortaOne using Let’s Encrypt certification authority (CA).
If you choose to generate certificates automatically, you can skip to step 3.
Order SSL certificates from a trusted CA
Optionally, you can contact your trusted certification authority (CA) such as Verisign to order SSL certificates for your domains (configured in step 1).
After you receive SSL certificates and private RSA key files from the CA, you will be able to upload them on the Mobile ConfigUI portal.
Step 3: Add the portal domain to the list of trusted domains
Cross-Origin Resource Sharing policy (CORS) is a set of rules and permissions that web browsers use to allow web pages from one website to securely talk to APIs on another website (hosted on a different domain). By default, CORS policy blocks all requests from a different origin as potentially malicious. For example, a web page hosted on domain evilhacker.com is prohibited from making requests to an API hosted on myphone.com.
To allow cross-origin API requests from your portal to PortaSwitch, you need to explicitly grant permission by adding the portal to the list of domains trusted by the PortaSwitch API. This way your portal will be able to access it.
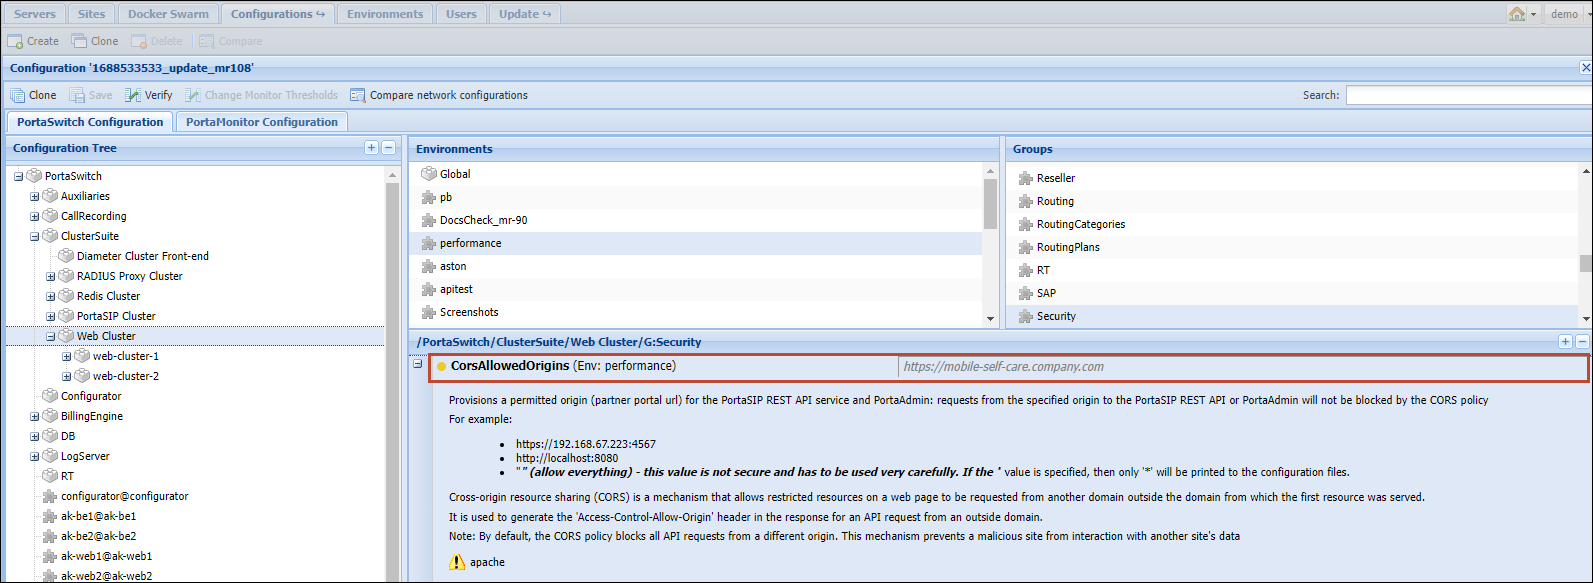
To add the portal domain to the list of trusted domains from which PortaSwitch can securely receive API requests, go to the Configuration server web interface and specify the URL of the portal, e.g., mobile-self-care.company.com in the CorsAllowedOrigins option.
Step 4: Prepare a logo and a favicon
For your branded portal, prepare a logo and a favicon in the format specified below.
Logo
The format of the logo:
- .svg or .png
- width 130–200 pixels
- max file size: 3 MB
It is crucial that the logo has a transparent background.

Favicon
The format of the favicon:
- square .ico image
- 32×32 pixels
Module configuration and deployment
Once the module is activated and the preparation steps are performed, you can customize and deploy your branded Mobile Account Self-Care Portal.
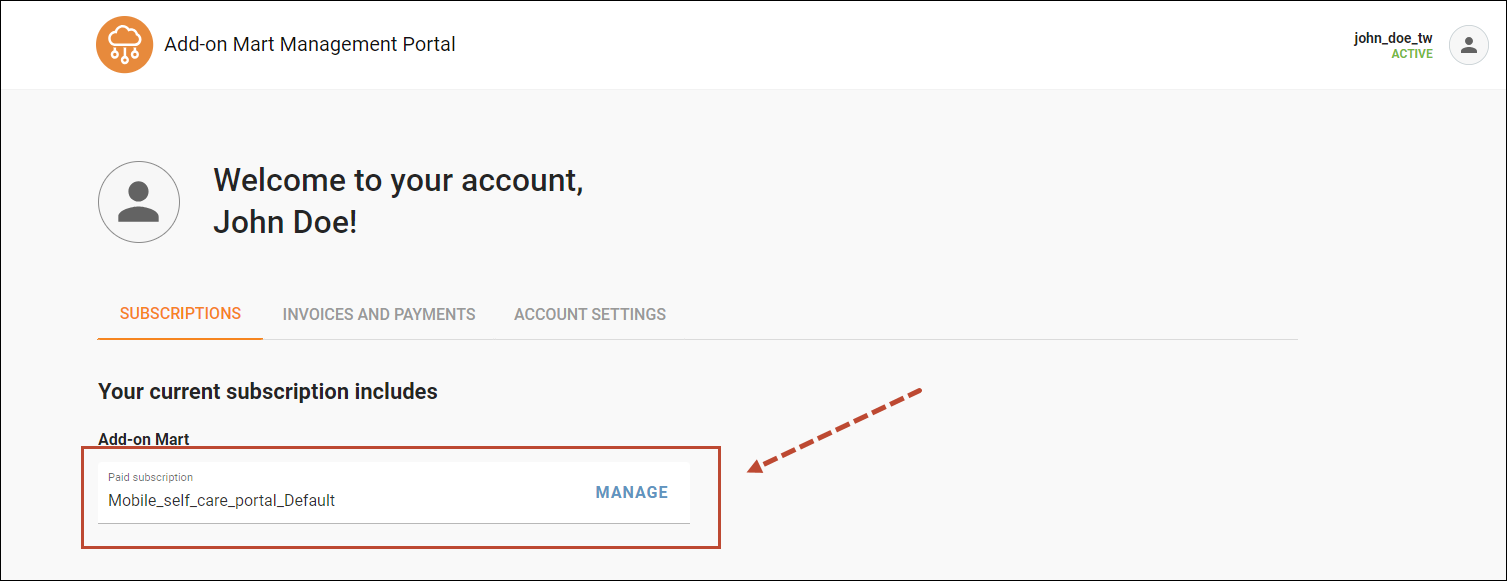
On the Subscriptions page, click Manage.
Click Configure.
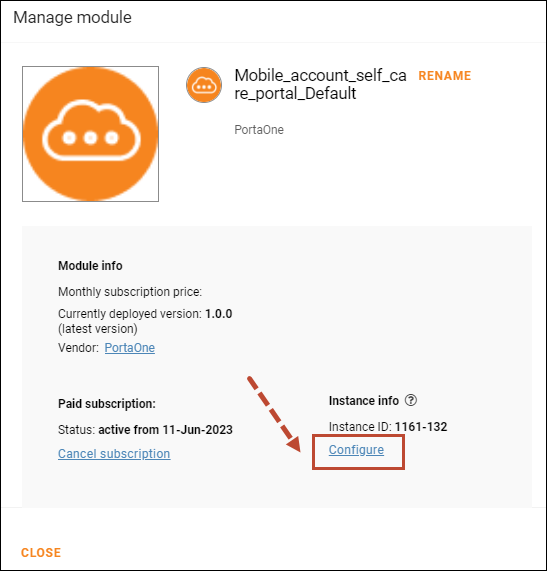
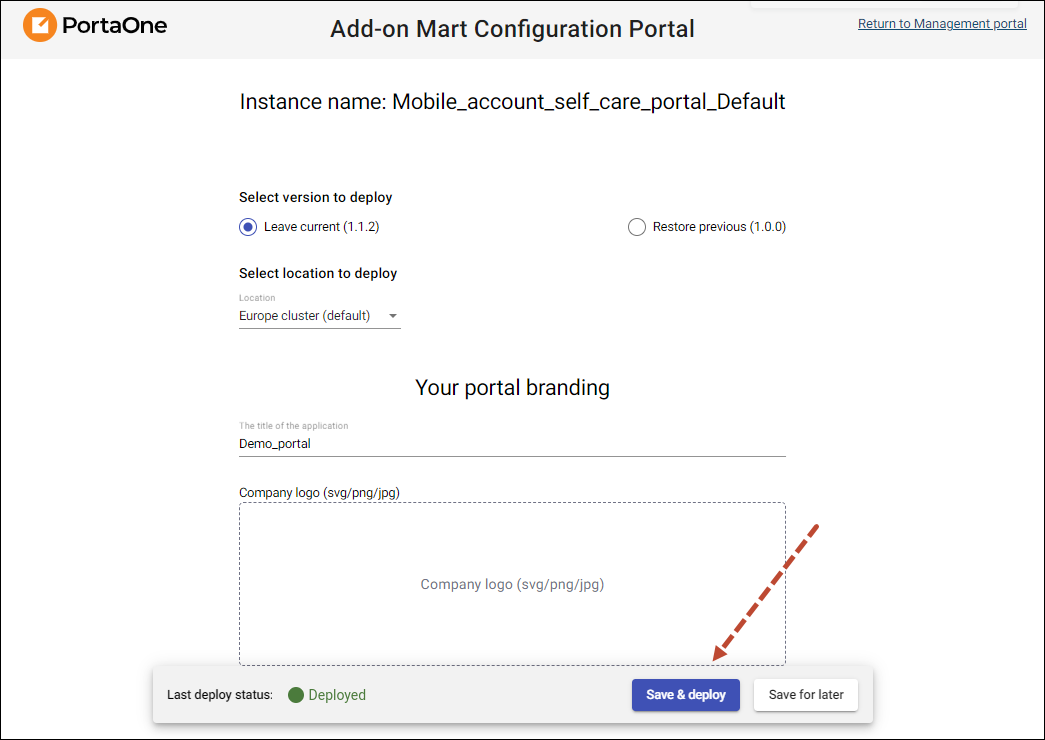
On the Mobile ConfigUI page that opens, fill in the configuration details and click Save & Deploy (or Save for later to deploy it later).
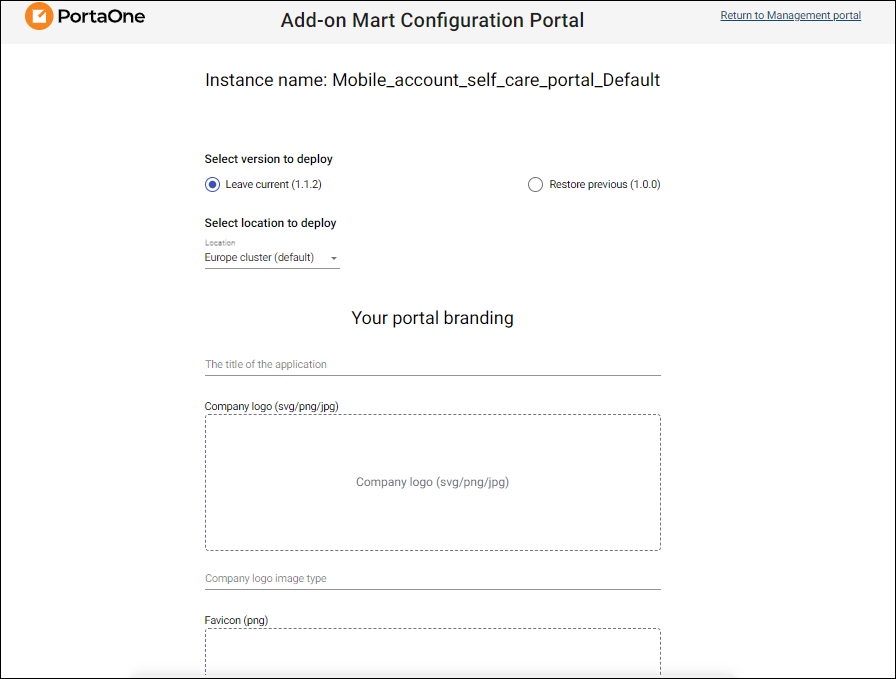
The form on the ConfigUI consists of the following blocks:
General settings
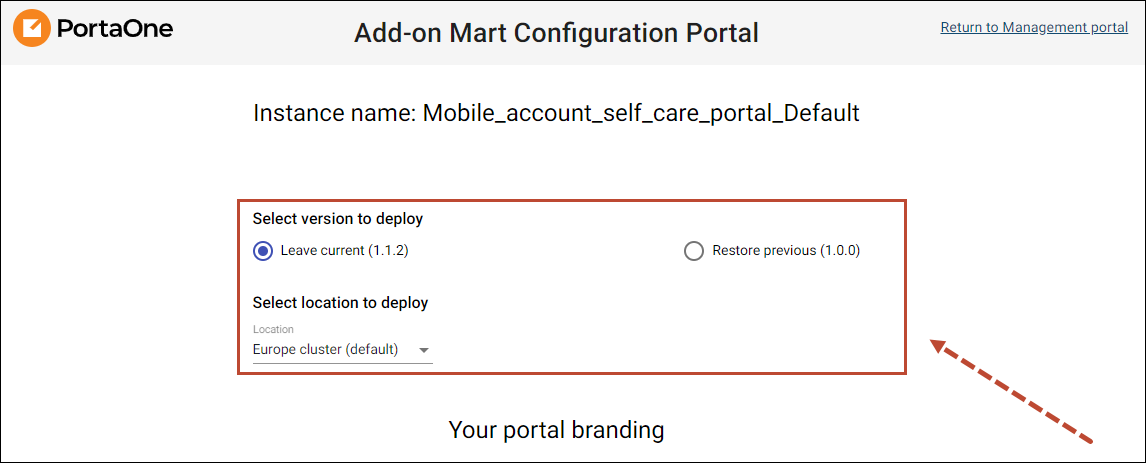
Before proceeding with the module configuration, select the suitable portal version and the location that is closest to your PortaSwitch:
- Version – select a portal version.
- Location – select the cloud datacenter where the portal will be deployed that is closest to your PortaSwitch (to minimize the latency). The following options are available:
- Europe cluster
- South Africa cluster
If none of these locations are close enough, please contact the PortaOne sales team. Additional data centers in other locations can be activated upon request.
Your portal branding
Add a portal name and upload your logo to brand your Mobile Account Self-Care Portal.
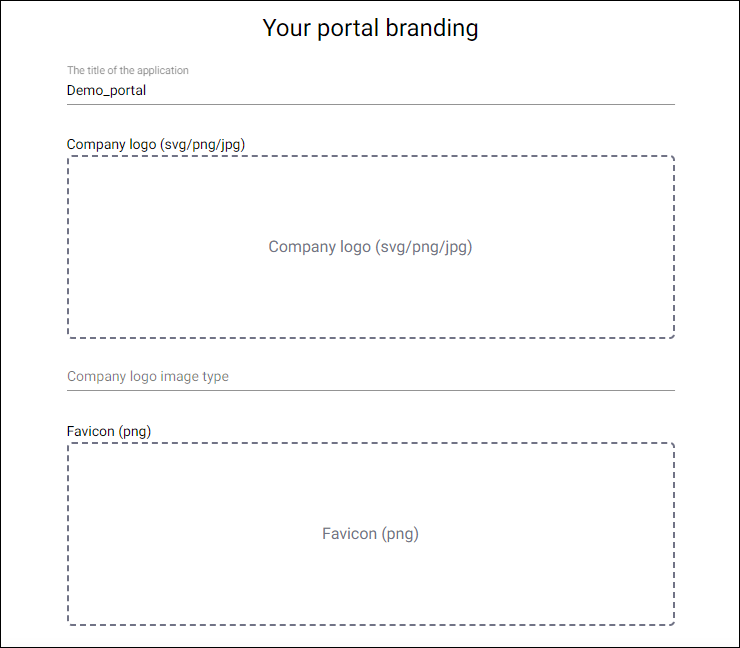
- The title of the application – specify the name of your portal shown in the browser tab.
- Company logo (mandatory) – upload your logo that will be shown on the portal web interface.
- Company logo image type – define the format of the image used in the Company logo field.
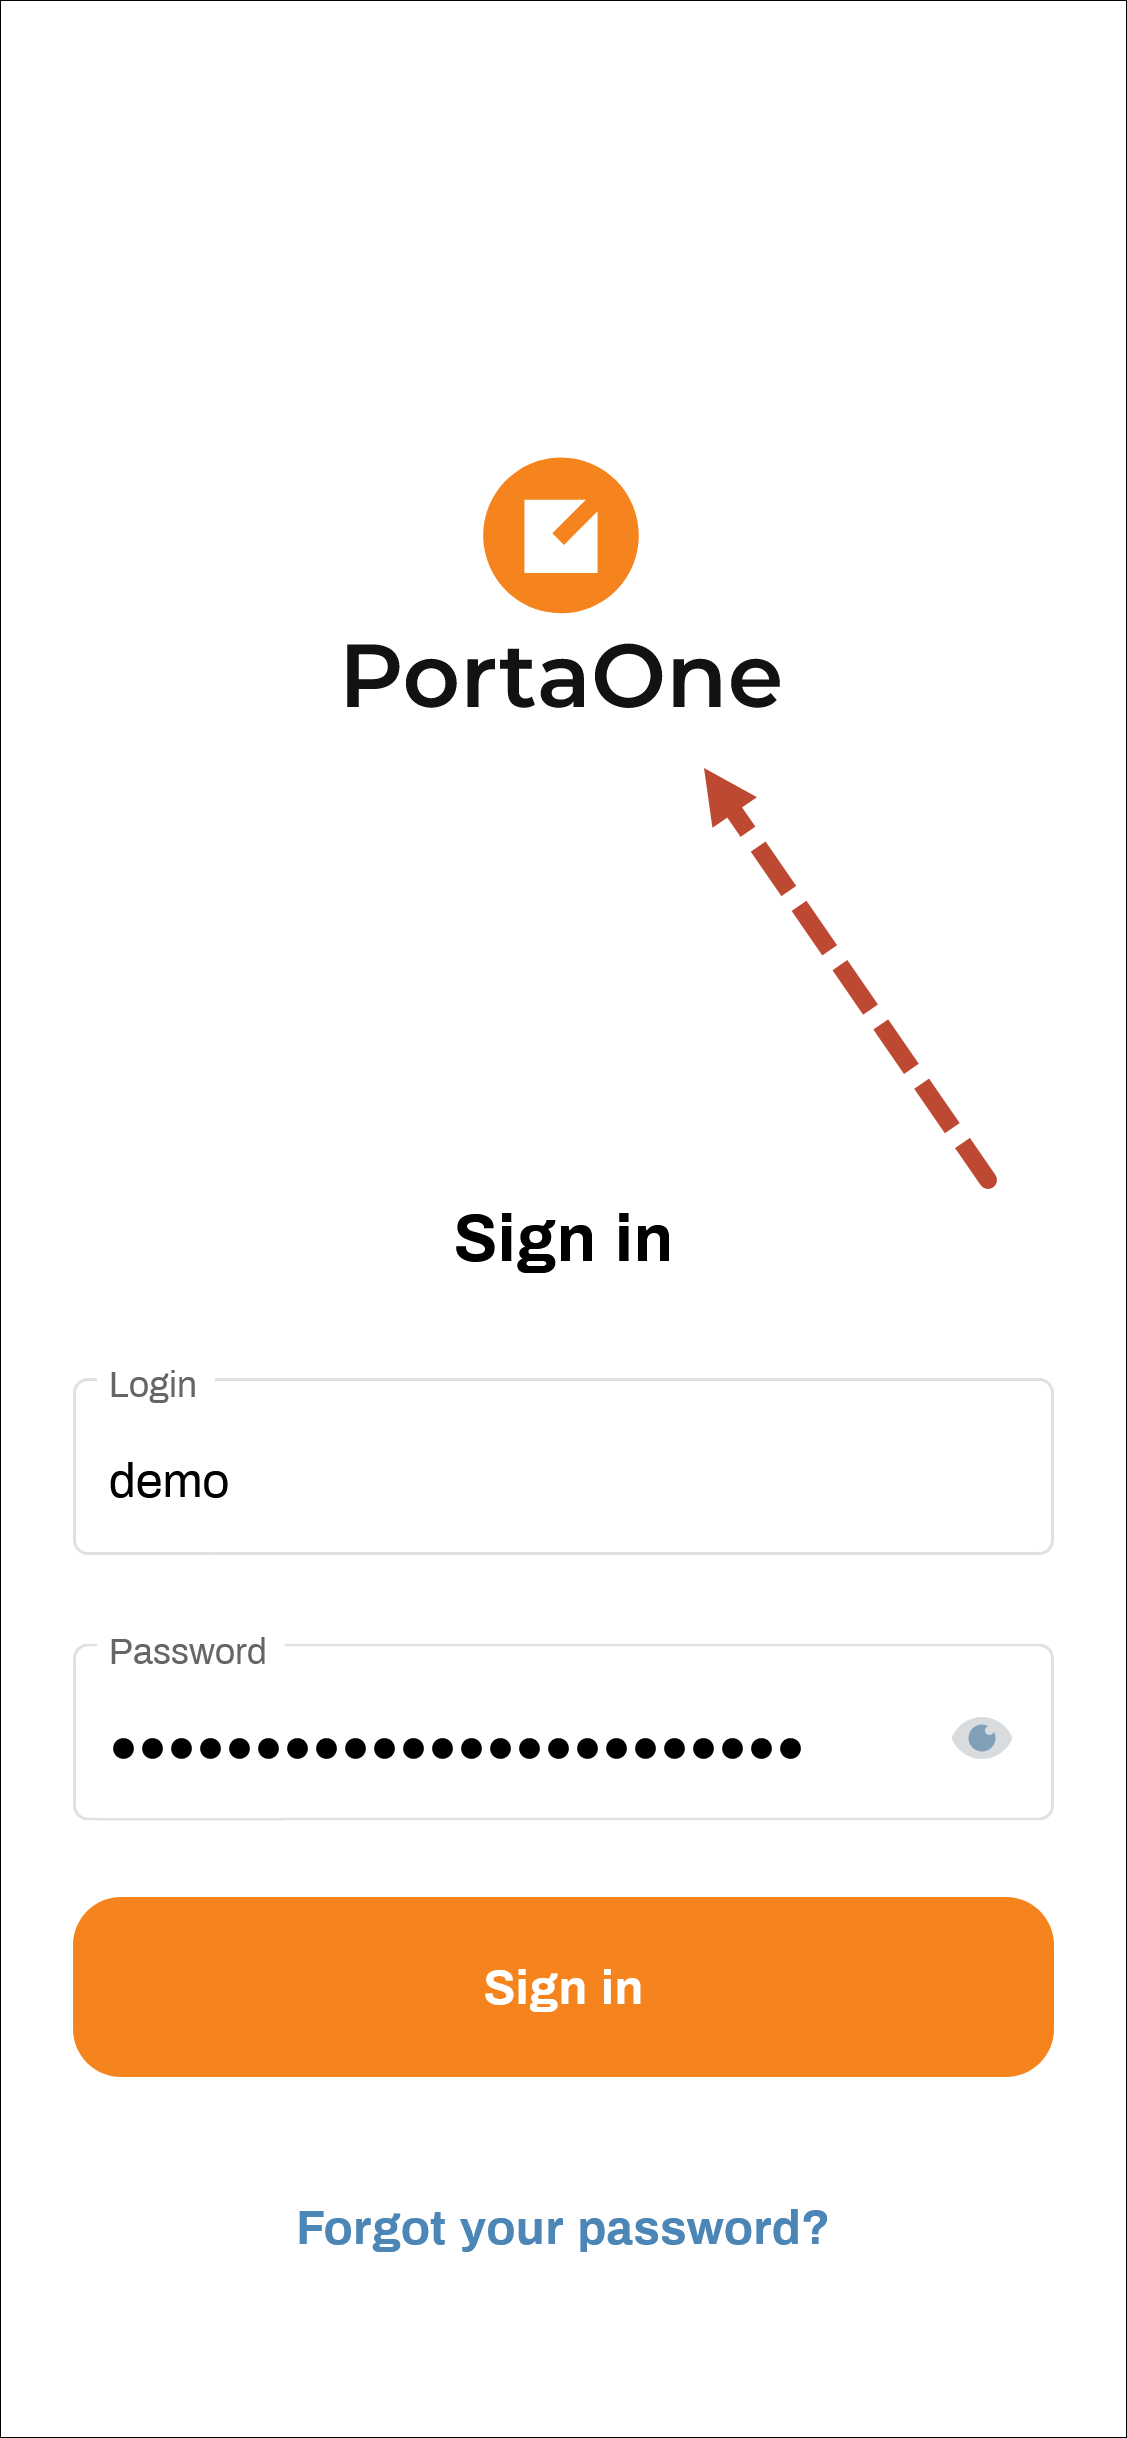
This is where the logo will be displayed on the portal.
- Favicon – click to upload a .png image that will be used as a favicon for the portal web page.
Choose domain configuration
Specify the domains configured at preparation step 1 and upload SSL certificates for these domains (or choose to generate the certificates automatically).
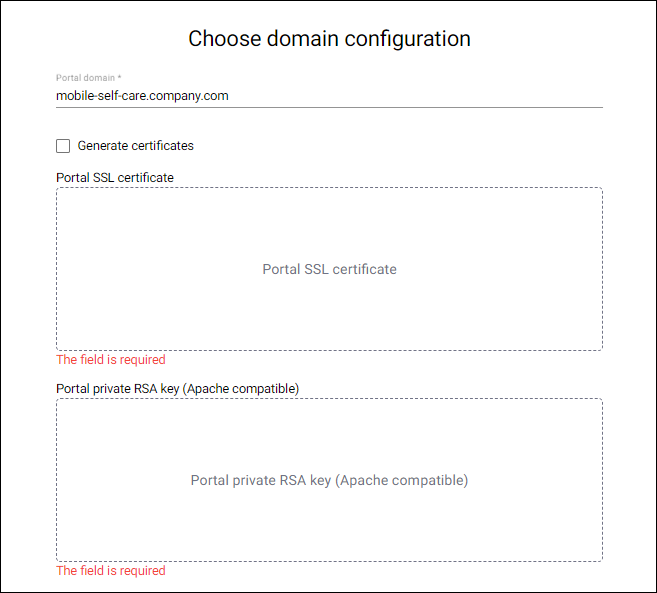
- Portal domain – specify the domain name for the portal’s web page, e.g., mobile-self-care.company.com
- Choose whether you want us to generate certificates for you or you want to upload your custom certificates. If you choose to upload your custom certificates, attach your SSL certificate for your domain and the private RSA key (see preparation step 2).
PortaSwitch connection configuration
Fill in the parameters that are needed to connect the portal to PortaSwitch.

- Account realm API URL (mandatory) – specify the URL of the PortaSwitch account self-care interface: https://:/rest. By default, the account realm port is 8445 (you can check the actual port on the Configuration server web interface in the VirtualHostsCustomer.server_port option). For example, the URL can be https://telecom.com:8445/rest.
Deployment
To deploy your Mobile Account Self-Care Portal right away, click Save & Deploy. To save the configuration and deploy it later, click Save for later.
Test the portal
Once Mobile Account Self-Care Portal is successfully deployed, open the link to the portal web page and test the basic functionality.


