Prerequisites
Link copied to clipboard
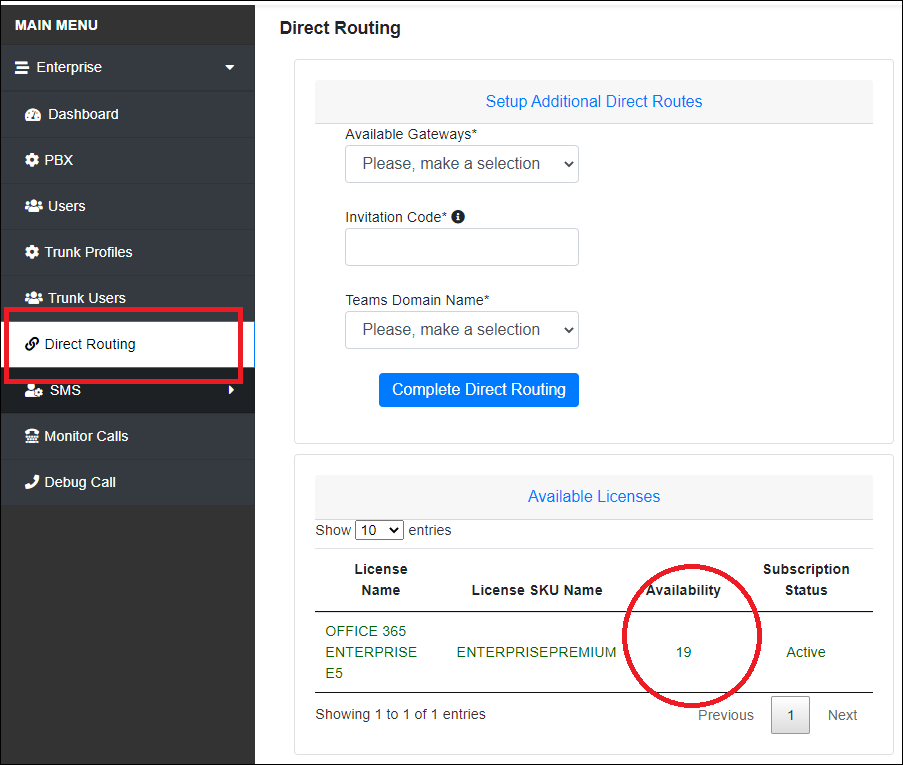
To set up direct routing, you need at least one unassigned Microsoft Office license that includes a phone system option. To check available licenses on the Enterprise portal, open Direct Routing Management > Direct Routing > Available Licenses.

Configuration
Link copied to clipboard
2.1 Log in to the Enterprise portal with the Microsoft Global Administrator credentials.
2.2 Go to Direct Routing Management > click Direct Routing
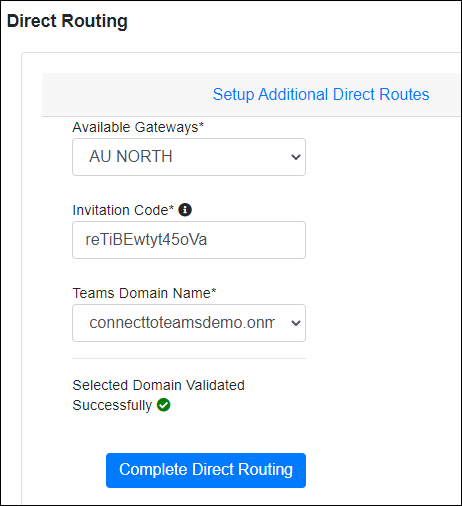
2.3 Specify the direct routing details:
- Available Gateways – select one of the available SBCs from the list.
- Invitation Code – enter the invitation code received in the registration email.
- Teams Domain Name – select your domain name from the drop-down list.
The domain that you select must have Skype service enabled, and the domain status must be Healthy. See how to fix possible domain issues here.
2.4 Click Complete Direct Routing.

2.5 In the Verify Tenant dialog, click again Complete Direct Routing once the verification is completed.

Refresh the page in 2-3 minutes to check whether the Direct Routing Connection Status is displayed as complete.

The completion of Direct Routing setup entails the automatic creation of a Direct Routing user that you cannot delete. The license that was automatically assigned to the Direct Routing user can be reassigned to a Teams user or you can cancel this license so as not to continue paying for it.


