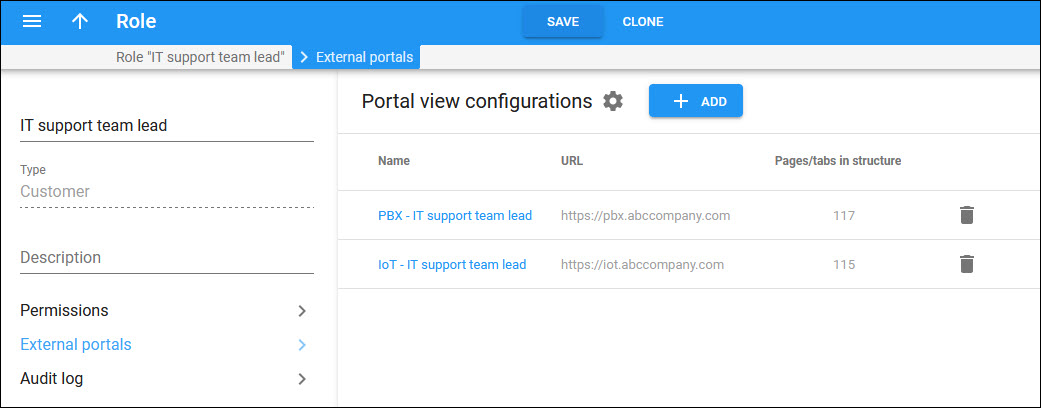
On this panel, you can control the functionality of a specific external portal that will be available for users with this role.
Refer to Control what custom portal functionality is visible according to user permissions chapter for more details.

How to add a portal view configuration
A portal view configuration is the list of pages and tabs in an external portal structure with the corresponding access permission (“Full”, “Forbidden,” or “View only”).
To add a view configuration for a specific portal and configure the users’ access:
- Click Add on the toolbar.
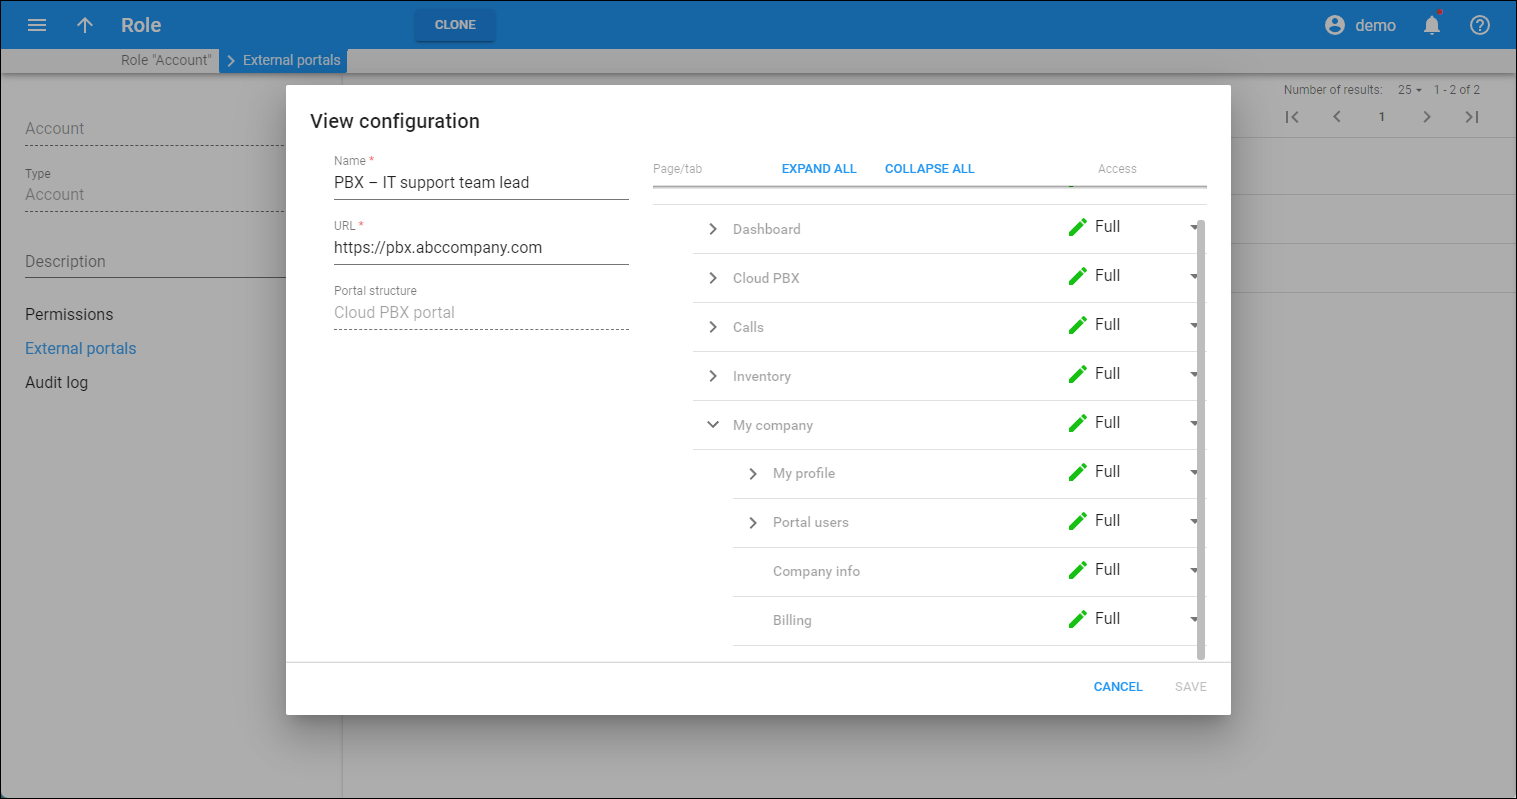
- Specify the details in the dialog that opens:
- Name – specify the portal view configuration name, e.g., “PBX - IT support team lead”.
- URL – specify the portal URL, e.g., https://www.pbx.abccompany.com.
- Portal structure – select the portal structure from the dropdown list. You can add a portal structure on the My company > Access control > Portal structures panel.
- Specify the access permission per page/tab of the external portal:
To see all the included pages/tabs, click Expand all. To hide the subpages/tabs, click Collapse all.
Portal view configurations list
Each entry in the list consists of:
Name
The name of the portal view configuration.
URL
The URL of the external portal.
Pages/tabs in structure
The number of elements available in the portal structure.
How to edit/delete a portal view configuration
To edit a portal view configuration, click on its name and change the details in the dialog that opens.
To delete a view configuration for the portal, click Delete ![]() .
.
Customize the panel
- Change table settings – click Settings
 in the title bar to customize columns and change row style.
 - Re-order the columns – drag-and-drop the column headers right or left to place the columns in the order you want.
- Re-order the rows – click Arrow
(or
) next to the column header to re-sort the rows. For example, the portal view configurations are displayed in alphabetical order. You can re-sort them in the reverse order.
- Change the default number of results globally – use the Number of results dropdown list in the upper right corner to adjust the maximum number of rows that appear on the panel. By default, the panel displays 25 rows. Once the number is changed, it’s automatically saved, so the same number of rows is shown for PortaBilling entities, e.g., customer, account, reseller, etc.


