



Once your paid subscription is activated, PortaOne Support contacts you to define domains for new components. Support installs the new component in PortaSwitch and provides you with the details of the Add-on Mart module configuration.
- Preparation steps
- Configuration in Add-on Mart
- Configuration in PortaBilling
- CloudPBX Self-Care Portal configuration (optional)
Preparation steps
Before proceeding with the Voice AI Agent (Apifonica) module configuration and deployment:
- Define a domain for Voice AI GW.
- Configure another domain for Voice AI Adapter.
- Obtain TLS certificates for the Voice AI Adapter domain (optional).
- Obtain the required information from PortaOne Support once they finish the installation.
Step 1. Define a domain for Voice AI GW
PortaSwitch uses a Voice AI Gateway (Voice AI GW) to route calls to agents. The Voice AI GW is a backend application deployed on your PortaSwitch installation by PortaOne Support. The gateway handles call routing between PortaSIP and the Apifonica platform.
Prepare a domain name for Voice AI GW, e.g., voiceai.your-domain.com. This domain appears in SIP Contact headers and can be visible to end-users on the self-care portal.
Step 2. Configure a domain for Voice AI Adapter
Voice AI Adapter is a backend application deployed in the Add-on Mart Cloud Infrastructure (AMCI) that manages communication between the customer self-care portal and the Apifonica platform.
Prepare a domain name for Voice AI Adapter, e.g., voice-ai-adapter.your-domain.com. Decide in which region to deploy the adapter (find the list of regions here). It is recommended that you select the region closest o your PortaSwitch in order to minimize latency.
When configuring DNS for the domain, specify the IP address corresponding to the selected location.
Step 3. Obtain TLS certificates for the Voice AI Adapter domain (optional)
TLS certificates can be generated automatically by PortaOne using the Let’s Encrypt certification authority (CA). If you choose this option, you can skip this step.
Optionally, you can contact your trusted CA to order a TLS certificate for your domain. After receiving the TLS certificates and private RSA key files from the CA, you can upload them to the Voice AI Agent Configuration UI.
Step 4. Obtain the required information from PortaOne Support once they finish the installation
Contact PortaOne Support to obtain the following configuration details required for the AI agent service setup in PortaBilling:
- Node ID, IP address, and RADIUS key of Voice AI GW.
- Rate code for charging calls to the AI agent.
- Access code to define in the “Usage charges” product configuration so that the system uses the correct tariff entry for AI agent calls.
Configuration in Add-on Mart
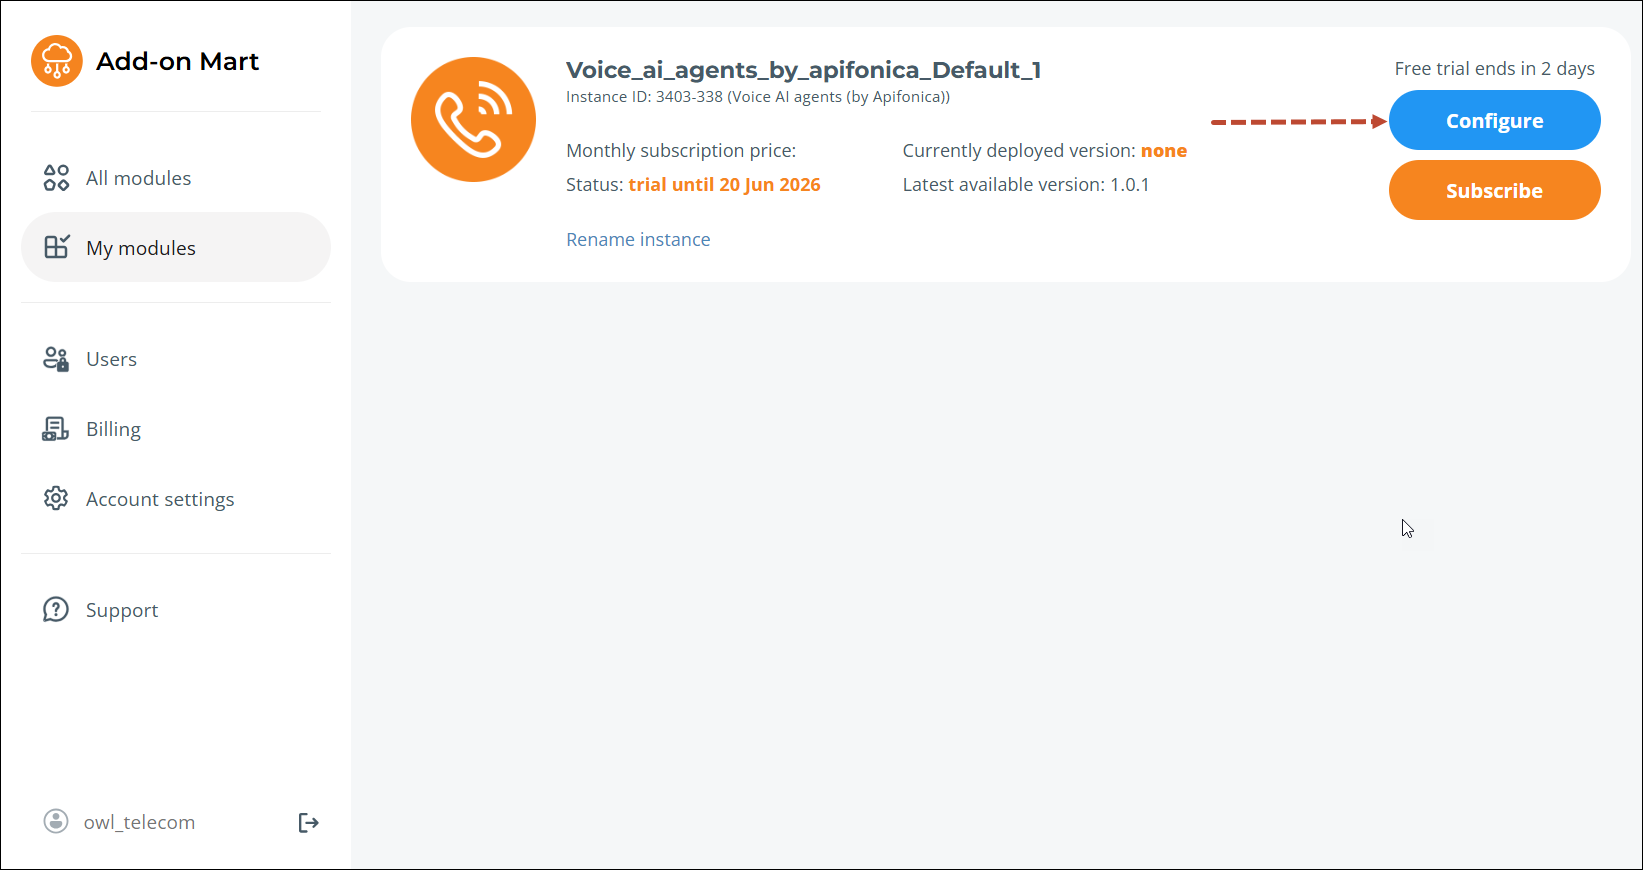
Log in to the Add-on Mart management portal, locate your Voice AI Agent (Apifonica) subscription, and click Configure.
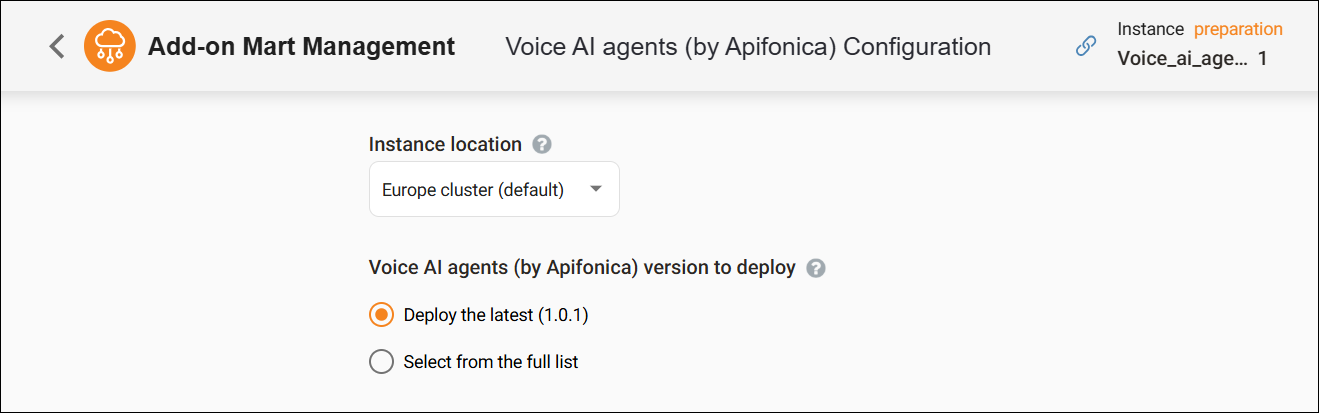
On the Voice AI Agent Configuration UI page that opens, fill in the configuration details.
The form on the Configuration UI consists of the following blocks:
General configuration
- Instance location – make sure to select the same region selected in preparation step 2.
- Voice AI agents (by Apifonica) version to deploy – set your Voice AI Agent deploy version. The following options are available:
- Deploy the latest (recommended) – select if you want to deploy the latest Voice AI Agent version.
- Select from the full list – select if you want to deploy another Voice AI Agent version.
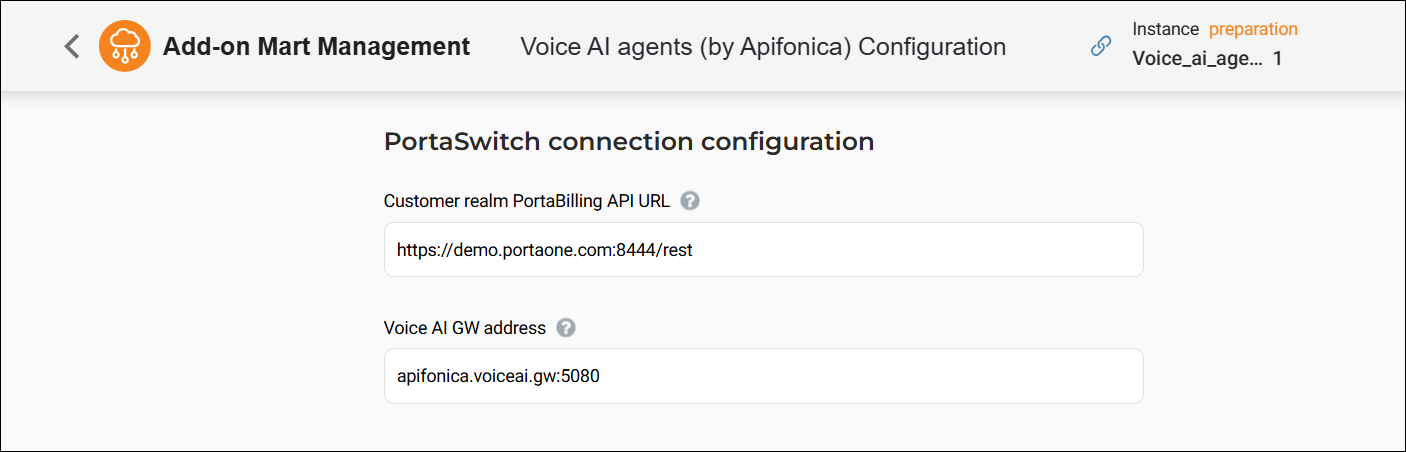
PortaSwitch connection configuration
Customer realm PortaBilling API URL – specify the URL of the PortaSwitch customer self-care interface, e.g., https://demo.portaone.com:8444/rest. By default, the customer realm port is 8444 (you can check the actual port on the Configuration server web interface within the VirtualHostsCustomer.server_port option).
Voice AI GW address – specify the domain name and port of the Voice AI GW prepared in preparation step 1, e.g., apifonica.voiceai.gw:5080
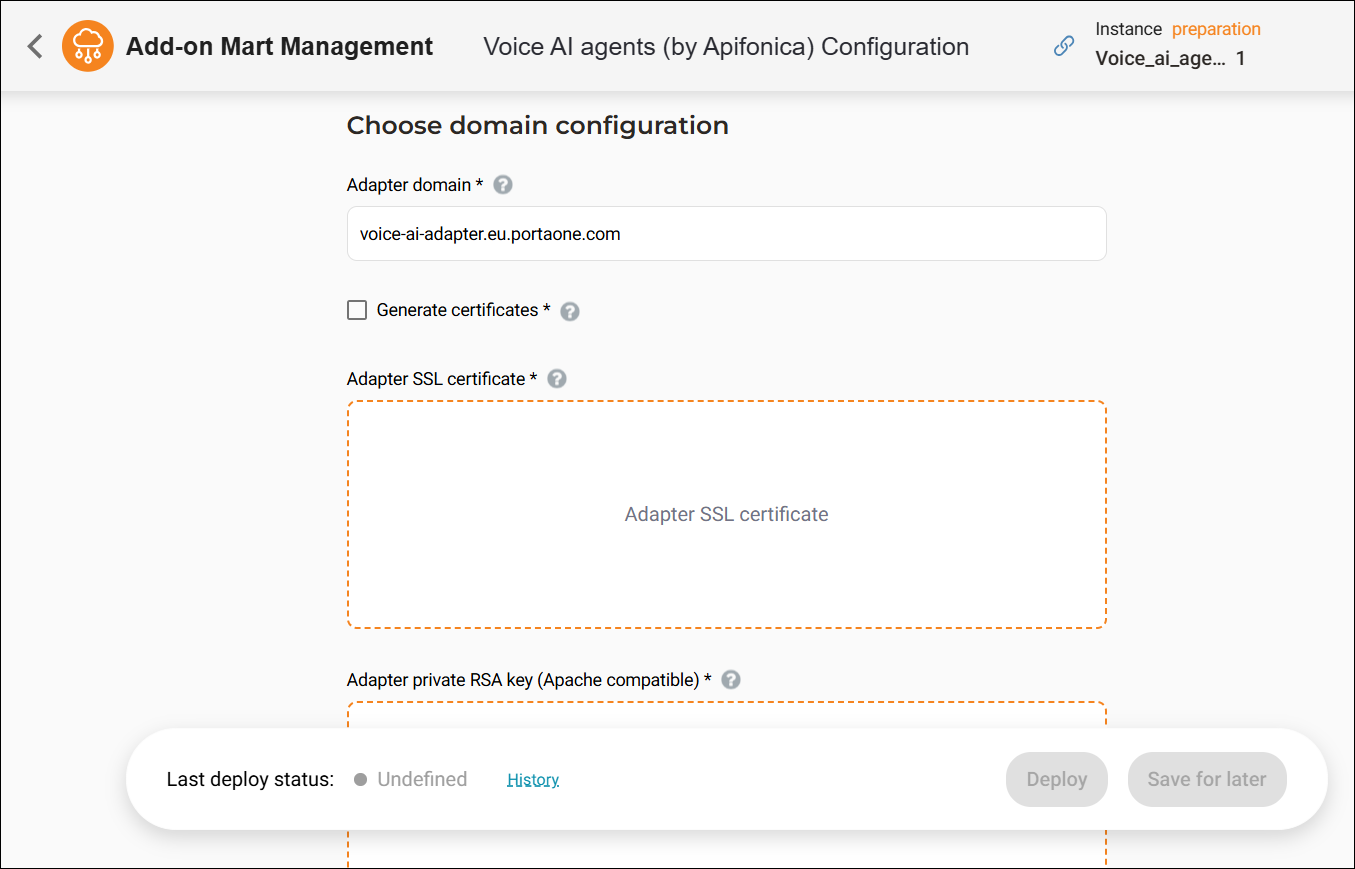
Choose domain configuration
Adapter domain – specify the URL of the Voice AI Adapter prepared in preparation step 2, e.g., voice-ai-adapter.eu.portaone.com.
Generate certificates – select the checkbox if you want PortaOne to generate a TLS certificate for you. Alternatively, upload your custom certificate and the private RSA key for your domain.
Deployment
To deploy your Voice AI Agent (Apifonica) module right away, click Deploy. To save the configuration and deploy it later, click Save for later.
Configuration in PortaBilling
Follow the steps in the handbook to configure the Voice AI Agent service and products in PortaSwitch.
CloudPBX Self-Care Portal configuration (optional)
If you use the CloudPBX Self-Care Portal, your customers can create and manage AI agents directly from it. To enable:
- In the Add-on Mart management portal, locate your CloudPBX Self-Care Portal subscription and click Configure.
- In the AI Voice Agent Service URL field, specify the URL prepared in preparation step 2, e.g., https://voice-ai-adapter.eu.portaone.com.
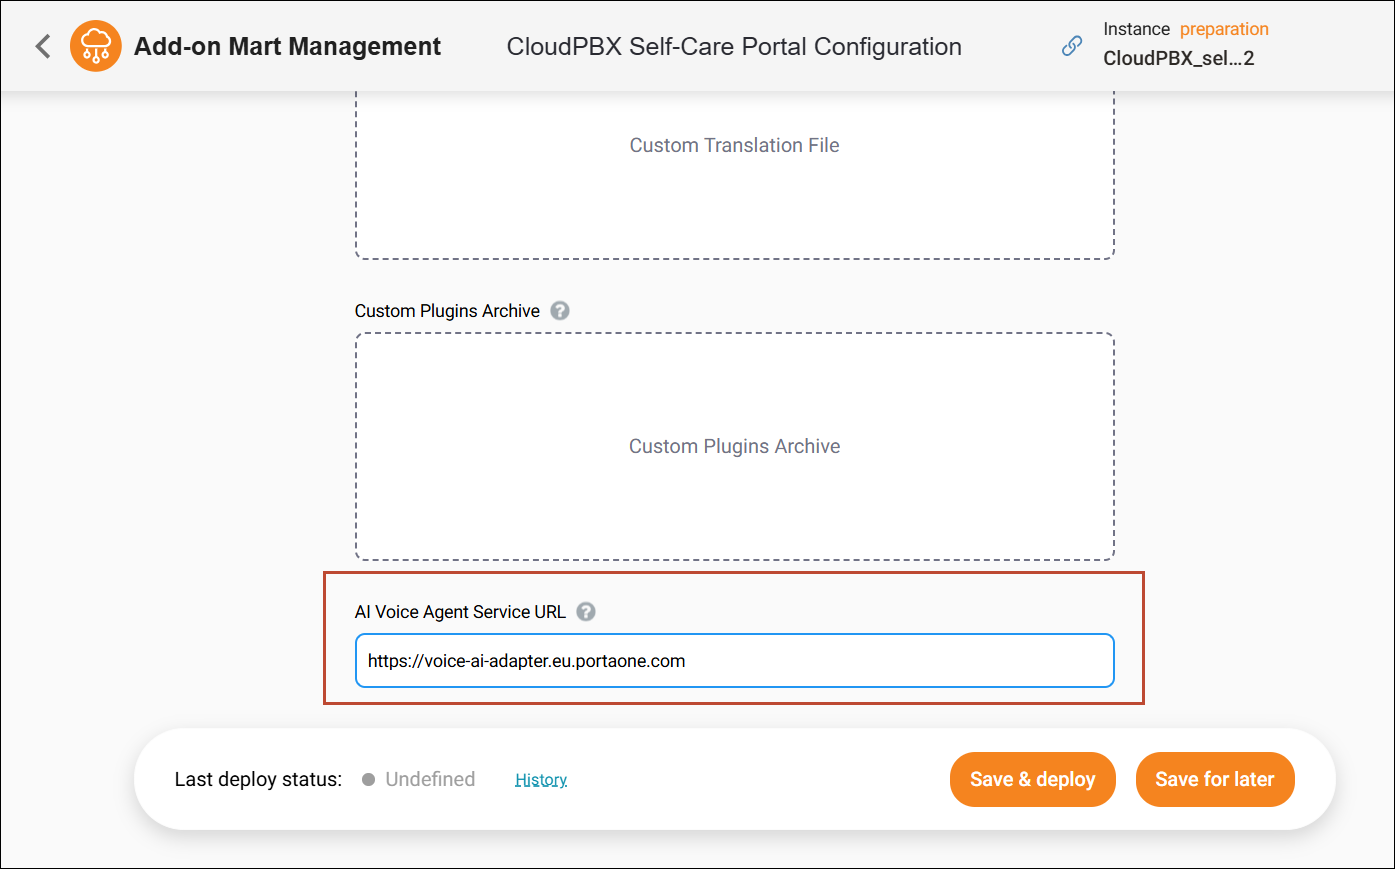
Click Deploy for the changes to take effect.


