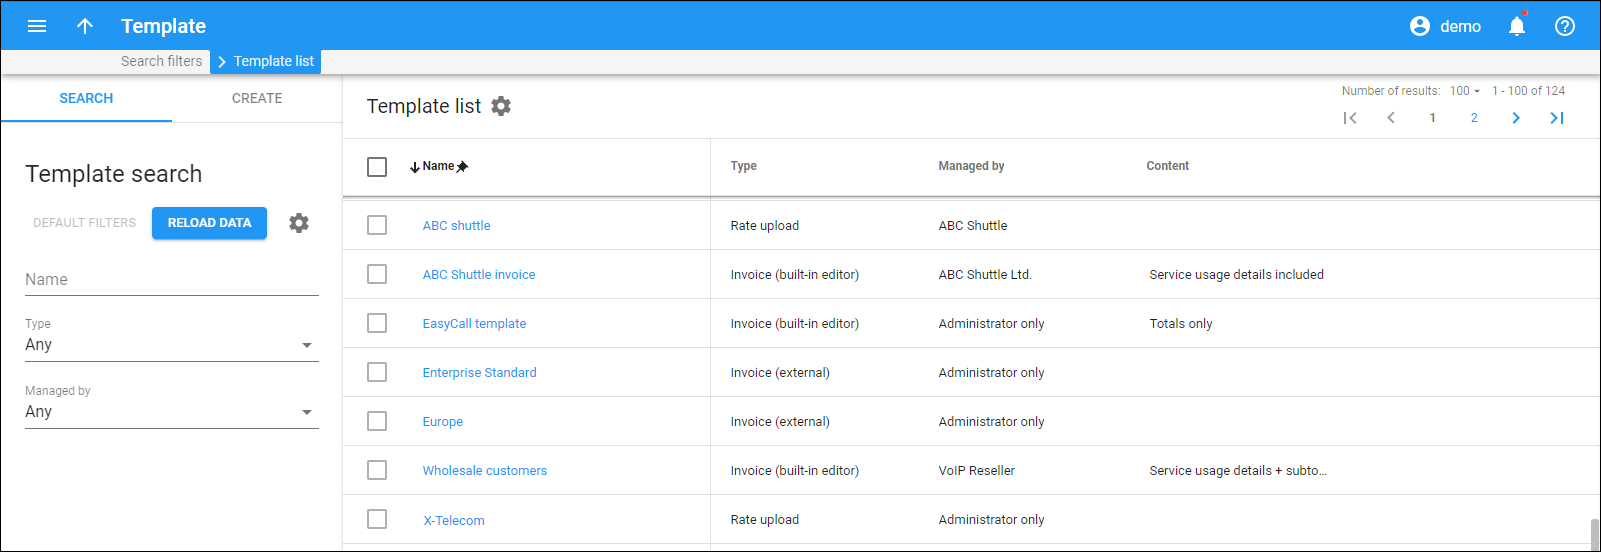
The Template list panel displays a list of templates that matches your search query.
To edit a template, click on its name in the list.
To delete a template, select the checkbox next to the required template, and click Delete on the toolbar. You can delete a template that is not assigned to any entity.
Each entry in the template list consists of:
Name
Link copied to clipboard
The name of the template, which is also a link that redirects you to the Edit template page.
Type
Link copied to clipboard
Shows the type of template (invoice, rate download, customer class notifications, user notifications, and rate upload).
Managed by
Link copied to clipboard
Indicates whether a template is managed by an administrator or a specific reseller.
Content
Link copied to clipboard
Defines invoice page format.
- Totals only – this is a traditional-style invoice that consists of a single page with an invoice header (your company name, customer name, etc.), invoice fields (invoice number, invoice date), and an invoice footer (subtotal, total).
- Service usage details included – this template’s first page is identical to the Totals only template. It contains multiple pages that detail all of the charges included in the invoice.
- Service usage details + subtotal per service – this template has multiple pages that detail all of the charges included in the invoice. In addition to details of services used, this invoice contains subtotals calculated per every service.
Customize the panel
Link copied to clipboard
- Change table settings. Click Settings
in the title bar to customize columns and change row style.
- Re-order the columns. Move the columns right or left to place them in the order you want.
- Re-order the rows. Click the arrow
(or
) next to the column header to re-sort them. For example, the list panel displays all records in alphabetical order. You can re-sort them in reverse order.
- Change the default number of results globally. By default, there are 25 rows per panel. Use the Number of results to adjust the number of rows that appear on the panel. Once the number is changed, it is automatically saved. So, the result lists for the PortaBilling entities, e.g. customer, account, reseller, etc., show the same number of records.


