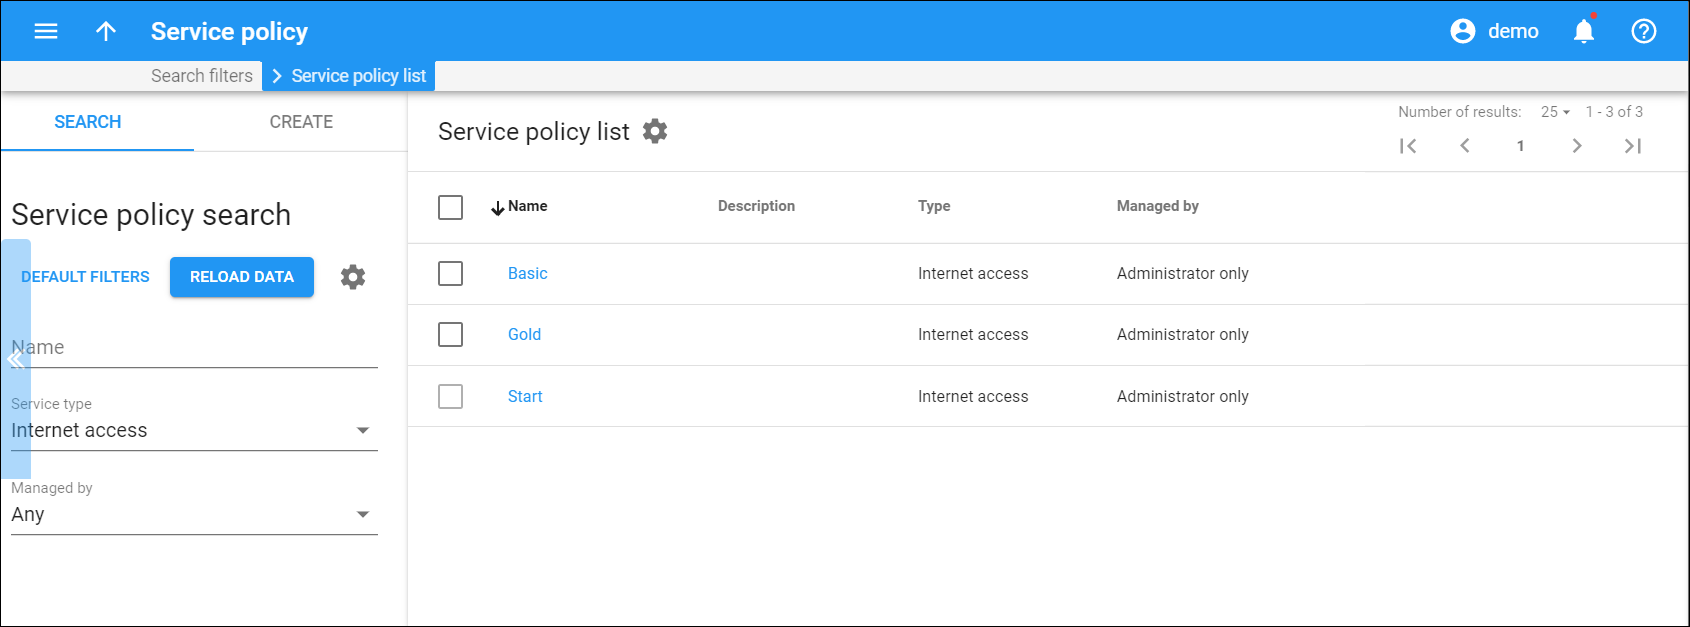
This panel displays the list of service policies that matches your search query.
Each entry in the service policy list consists of:
-
Name – this is the name for a service policy.
-
Description – this is a short description of the service policy. To add/remove this column, click Settings
on the title bar > click Customize columns and select the Description checkbox.
-
Type – a service type for which this policy is used (Voice calls, Messaging service, or Internet access).
-
SIP end-point pattern – available for Voice calls service policies and specifies a pattern for user agent (UA) type. If this field is filled, PortaSIP uses its value to dynamically match against every new call from/to internal accounts. If the specified pattern matches the caller/callee UA type, the policy attributes apply to this call. This field can contain either a full UA name (e.g., Linksys/SPA941-5.1.8) or a list of patterns separated by a comma (e.g., Cisco%,Sipura%,Grandstream%).
-
Recipient domain pattern – available for Messaging service policies and specifies the recipient’s domain name or CLD. If this field is filled, PortaSIP uses its value to dynamically match against every new message from/to internal accounts. If the specified pattern matches the recipient domain, the policy attributes (e.g., transport protocol, routing and billing parameters) are used for processing and delivery of messages (both SMS and instant messages).
-
Managed by – available for Internet access service policies and shows whether the service policy is managed by the administrator or a particular reseller.
Delete service policies
To delete service policies, select the corresponding checkboxes and click Delete on the toolbar. Note that you can’t delete service policies which are already assigned to an account, product, etc.
Customize the panel
Change table settings – click Settings in the title bar to customize columns and change row style.
Re-order the columns – drag-and-drop the column headers right or left to place the columns in the order you want.
Re-order the rows – click the arrow (or
) next to the column header to re-sort the rows in the reverse order.
Change the default number of results globally – use the Number of results drop-down list in the upper right corner to adjust the maximum number of rows that appear on the panel. By default, the panel displays 25 rows. Once the number is changed, it’s automatically saved, so the same number of rows is shown for PortaBilling entities, e.g., customer, account, reseller, etc.


