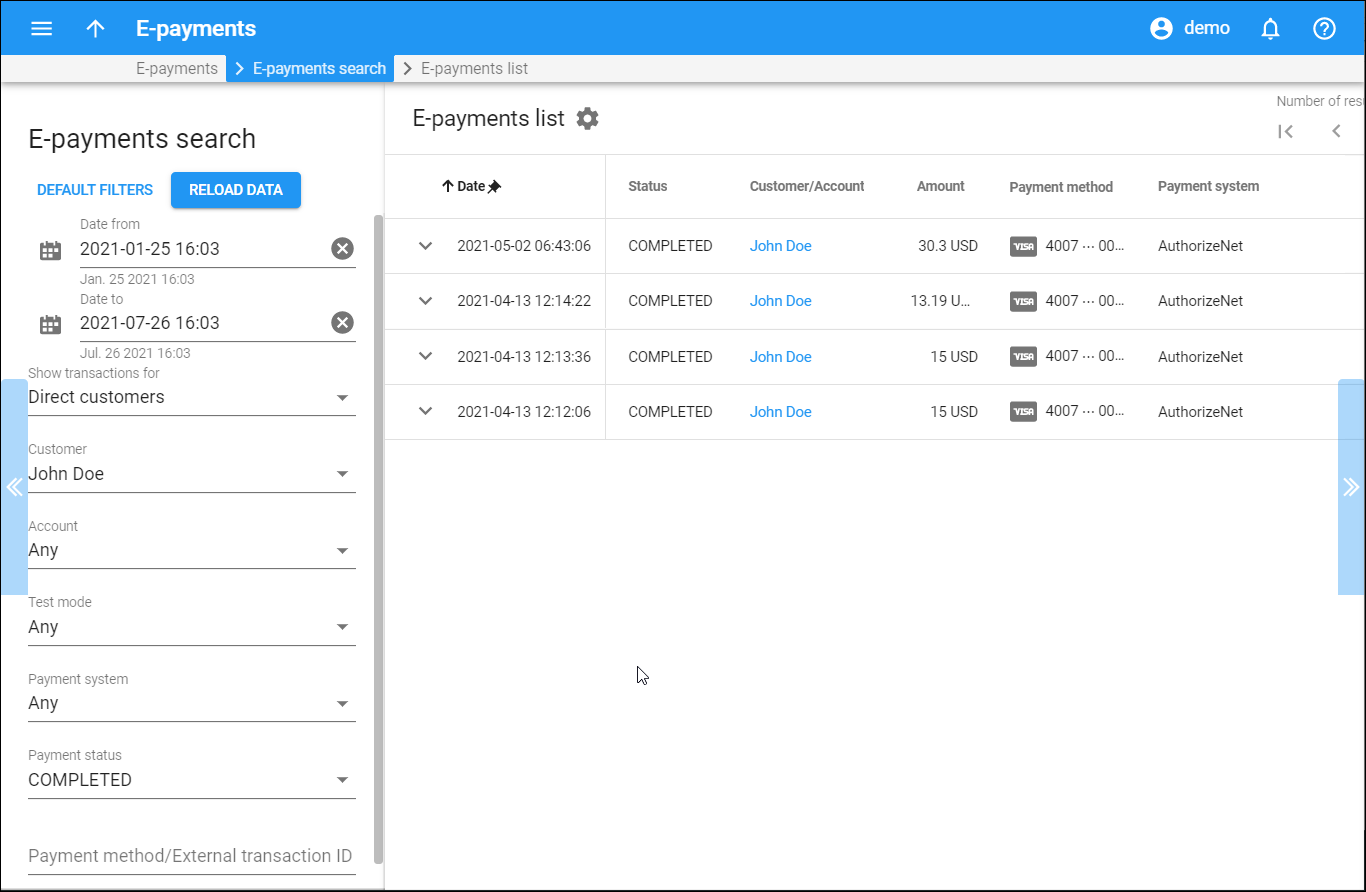
This panel displays the list of transactions that match your search query.
Each entry in the e-payments list consists of:
- Date — the date and time when the payment was made. Click Expand
to see payment details.
- Status — the status of the payment:
- COMPLETED — successfully processed payment;
- AUTHORIZED — using the “Authorize” command, a user can reserve a part of the funds on their account. Afterward, the user can use those funds only if they know the External transaction ID. The transaction that the user made to reserve the funds is given the AUTHORIZED status;
- STARTED — not all payments are performed in one step, some need confirmation from the user. When the system sends a request to the bank and waits for its processing, the payment is given the STARTED status;
- CANCELED — the payment that the user canceled before it was processed;
- FAILED — the payment that the system failed to process;
- VOIDED — when a user cancels the authorization of funds by performing a “Void” command, the funds become available on the card. Such a transaction is given a VOIDED status. It is not used to change the balance of a cloud PBX account, the funds only become available on the card.
- Customer/Account — the customer or account the payment is related to.
- Amount — the amount of transaction.
- Payment method — the method that the customer or account used for transferring funds.
- Payment system — the payment system that was used to process the payment.
Customize the panel
Change table settings – click Settings in the title bar to customize columns and change row style.
Re-order the columns – drag-and-drop the column headers right or left to place the columns in the order you want.
Re-order the rows – click Arrow (or
) next to the column header to re-sort the rows. For example, the E-payments list panel displays e-payments in ascending order. You can re-sort them in the reverse order.
Change the default number of results globally – use the Number of results drop-down list in the upper right corner to adjust the maximum number of rows that appear on the panel. By default, the panel displays 25 rows. Once the number is changed, it's automatically saved, so the same number of rows is shown for PortaBilling entities, e.g., customer, account, reseller, etc.


