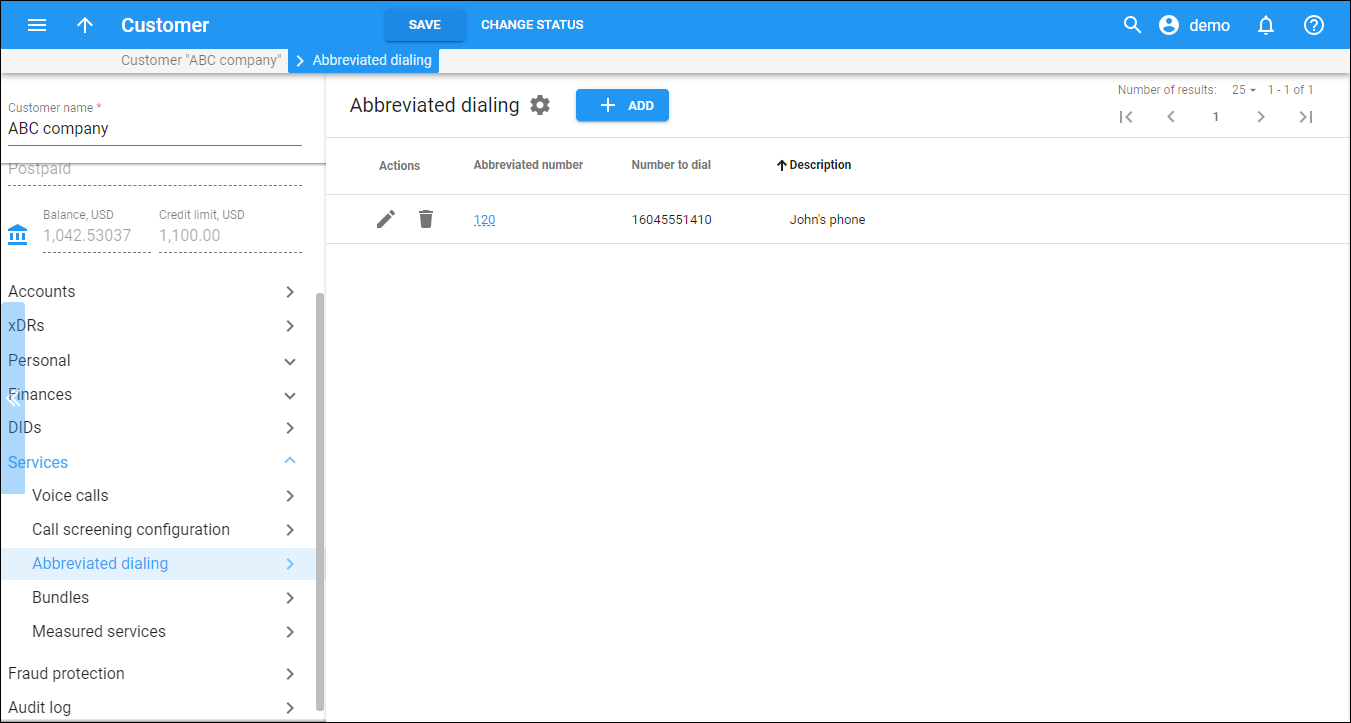
Use abbreviated dialing to organize commonly used phone numbers under a general directory and allow users to dial them by using short numbers.
Typically customers create abbreviated dialing lists themselves in the customer self-care portal. Here you can view the customer's abbreviated dialing list and manage it on behalf of this customer.
Actions
This column features two buttons:
Abbreviated number
This is an abbreviated dialing number which is also the link that leads you to the edit abbreviated number dialog.
Number to dial
The destination number where the call will be forwarded to in the E164 format.
Description
The description of this abbreviated number, e.g., "John's IP phone".
How to add the abbreviated dialing number
To add a new abbreviated dialing record, сlick Add on the toolbar and fill in these details:
- Abbreviated number – the short number that the user will dial. Max number length is limited to 15 chars.
- Number to dial – enter the actual destination number where the call will be forwarded to in the E164 format. You may enter the ID of one of the customer's accounts or any phone number. If you leave this field blank, then the abbreviated number is considered to be a direct number, or "dial as is". This is useful for making sure that special numbers (e.g., 112) are never converted by other translation rules.
- Description – the description of this abbreviated number, e.g., "John's IP phone." The record is saved automatically.
To delete the abbreviated dialing record, click Delete .
Customize the panel
- Change table settings – click Settings
in the title bar to customize columns and change row style.
- Re-order the columns – drag-and-drop the column headers right or left to place the columns in the order you want.
- Re-order the rows – click the arrow
(or
) next to the column header to re-sort the rows. For example, the panel displays numbers in chronological order starting from the newest one. You can re-sort them in the reverse order.


