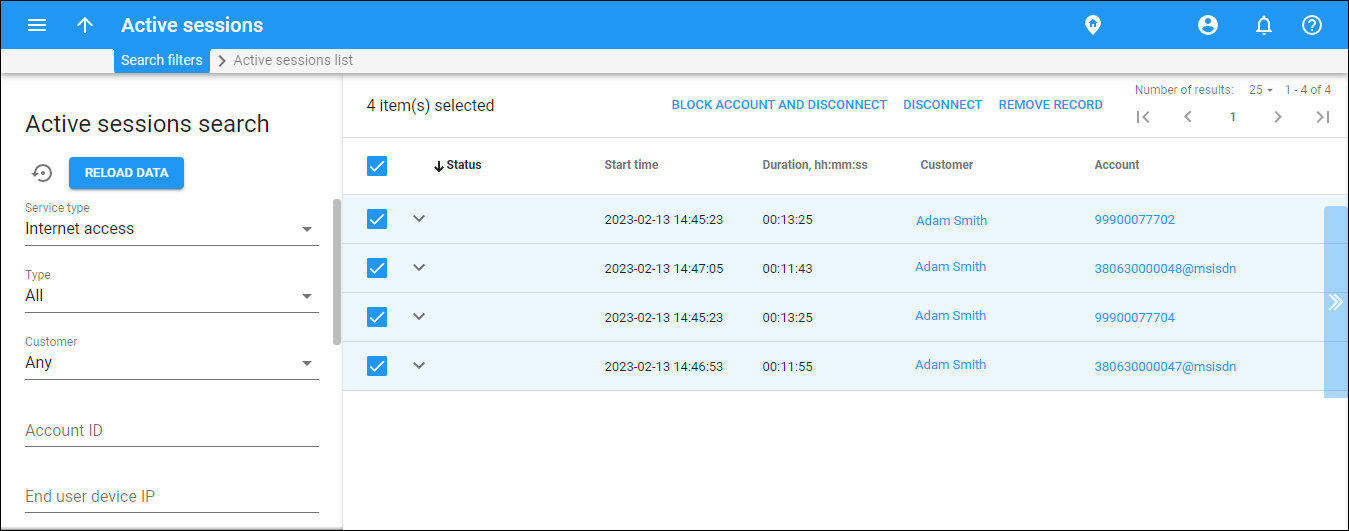
This panel displays a list of active sessions that matches your search query.
 Each entry in the active sessions list consists of:
CLI
The originating phone number (ANI number).
CLD
The destination phone number.
Start time
The time when the session started (e.g., the call was connected.)
Duration
The total session duration. Click the Reload button on the Active sessions search panel to view the up-to-date session duration.
Country
The country that the CLD belongs to.
Area
The area that the CLD belongs to.
Advanced view
To see detailed information about an active session click the Expand control:
- Session ID – this is a unique session identifier. Click the ID to open the session logs.
- Call ID – this identifies a specific call or message. Click the ID to open the session logs.
- Node – this is an element of your network (PortaSIP server, gateway, etc.) that the call routes through (e.g., you want to see all calls originating on your Cisco AS5300 gateway in New York). Click the node name to open the node’s details.
How to disconnect a session
You may need to disconnect an active session for an account manually.
To disconnect an active session, select it in the list and click Disconnect on the toolbar.
To disconnect the selected active sessions and block the corresponding accounts, click Block account and disconnect session on the toolbar.
In this case, even if a user’s device tries to reconnect automatically and the gateway sends the new authorization request to PortaBilling, the session will not be authorized for the blocked account.
How to remove a session from the list
It may happen that the gateway was rebooted and the sessions were disconnected, but PortaBilling didn’t receive the “stop accounting” request, and these sessions are still shown as active in PortaBilling. In this case, you can clean up these sessions from the active session list.
To remove a session , select it in the list and click Remove record on the toolbar.
Customize the panel
- Change table settings – click Settings
in the title bar to customize columns and change row style.
- Re-order the columns – drag-and-drop the column headers right or left to place the columns in the order you want.
- Re-order the rows – click Arrow
(or
) next to the column header to re-sort the rows. For example, the Active sessions list panel displays active sessions list in alphabetical order. You can re-sort them in the reverse order.
- Change the default number of results globally – use the Number of results drop-down list in the upper right corner to adjust the maximum number of rows that appear on the panel. By default, the panel displays 25 rows. Once the number is changed, it's automatically saved, so the same number of rows is shown for PortaBilling entities, e.g., customer, account, reseller, etc.


