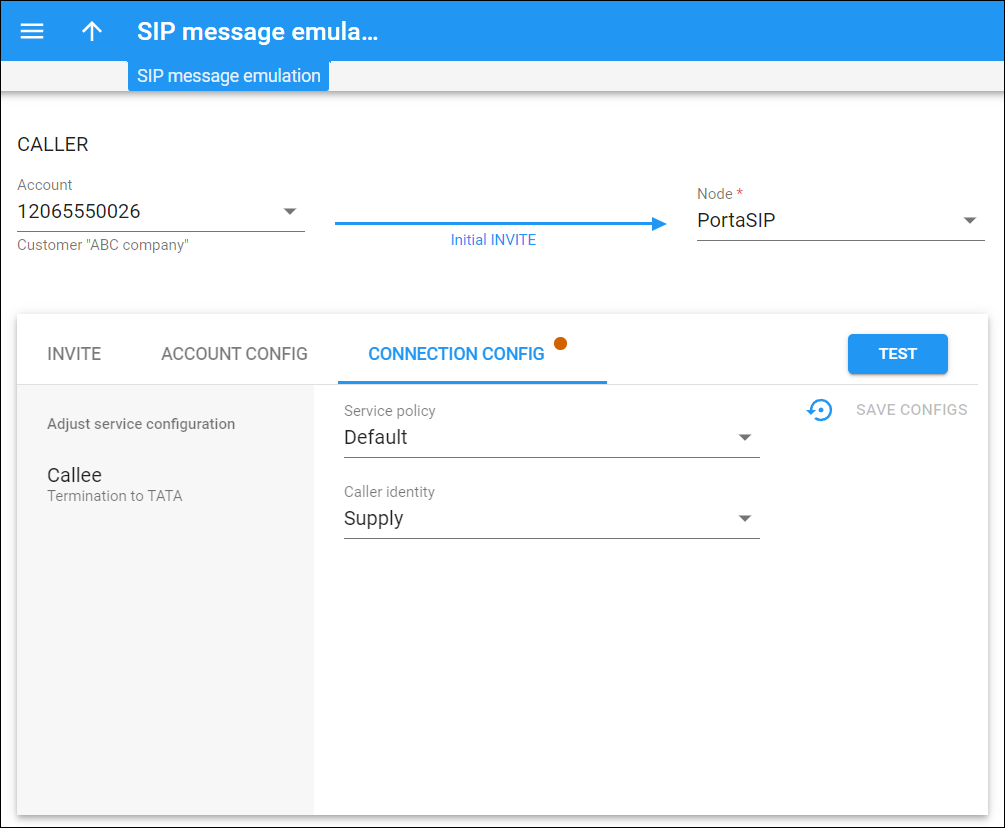
On this panel, you emulate a call to find out what privacy/identity headers will be passed in the outgoing INVITE message to a vendor. Refer to Call emulation tool section for more details.
You can emulate calls using existing accounts/vendor connections, since these tests don’t affect the regular telephony service (the outgoing INVITE messages are not sent and there’s no charging for emulated calls).
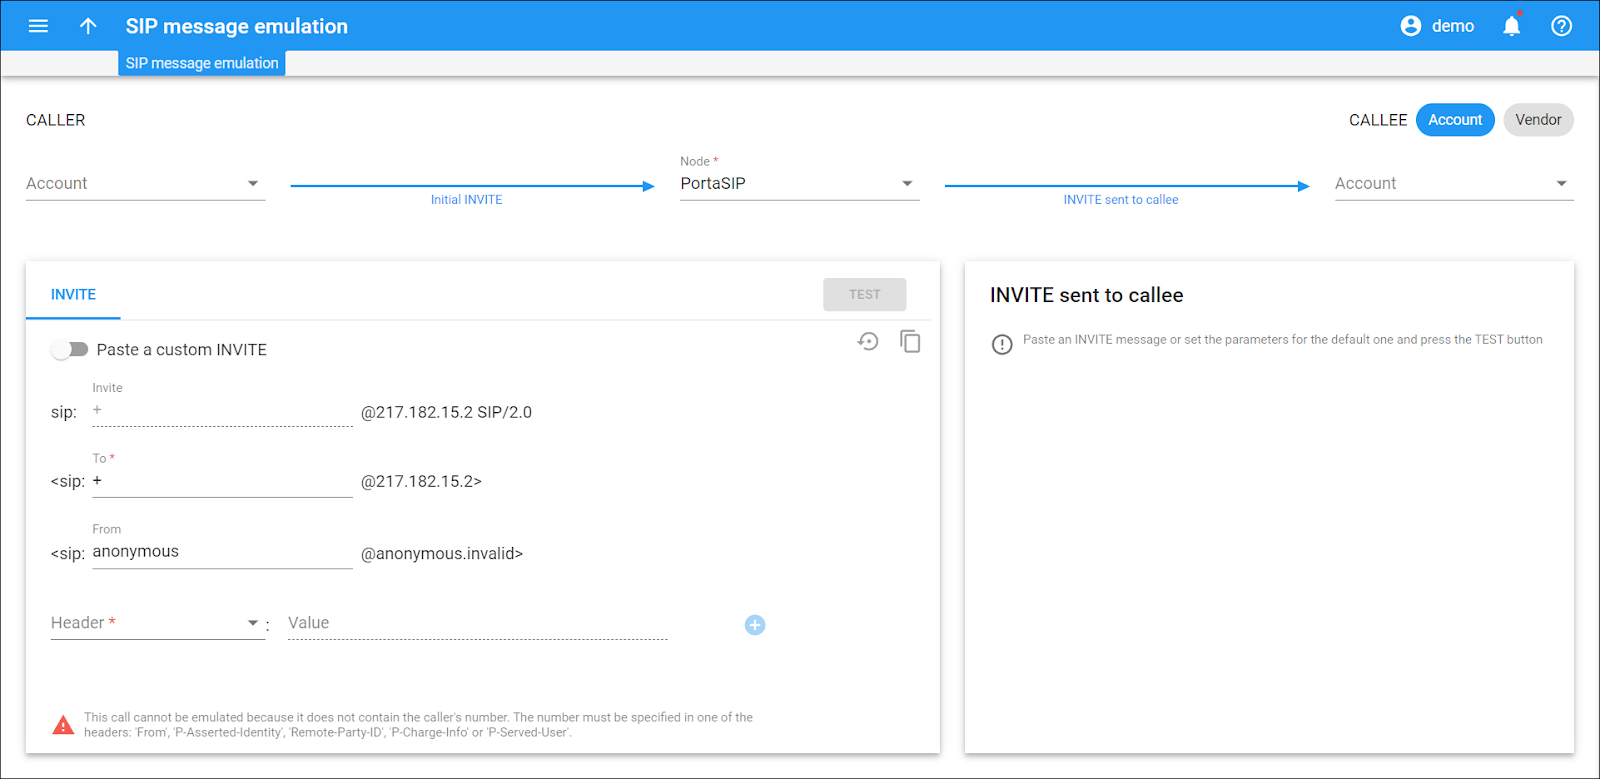
To emulate a call, fill in the details and click Test.
Caller
Account
Select the account ID to emulate a call from a specific account in the system. To find the needed account, you can type in the account ID fully or partially.
Once the account is selected, the corresponding customer name will be shown under this field.
Node
Select a node for the emulated call.
Callee
How to emulate a call that goes via a vendor
- Click Vendor on the toolbar.
- Select a vendor connection in the Vendor connection field. Start typing the connection name to find the needed one.
Once you select a vendor connection, the corresponding vendor name will be displayed under this field.
How to emulate a call between two accounts in your system
- Click Account on the toolbar.
- Select the ID of the called account in the Account field. To find the needed account, type in the account ID fully or partially.
Once the account is selected, the corresponding customer name will be shown under this field.
INVITE
The fields “To” and “From” are populated automatically when you select the calling and the called account.
If you emulate a call that goes via a vendor, you can specify any CLD in the “To” field. The CLD can be specified in the E.164 format or in a custom format according to dialing rules that are set up for the customer/account.
How to emulate a call with specific headers
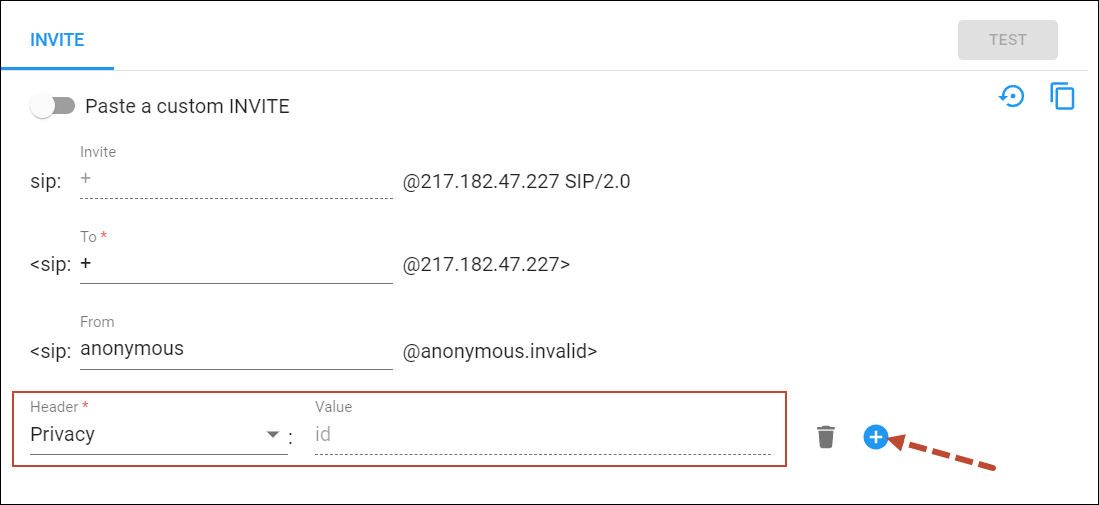
You can emulate a call with specific headers that are typically received from an external endpoint in one of the following ways:
- Add the specific headers manually one by one. For this, select a header name and specify its value in the corresponding fields. Click Add
to add one more header.
- Copy and paste the full INVITE from a sample log. For this, turn on the Paste a custom INVITE toggle and paste the invite in the Initial INVITE field.
The SDP part must be included in a custom initial INVITE.
INVITE sent to callee
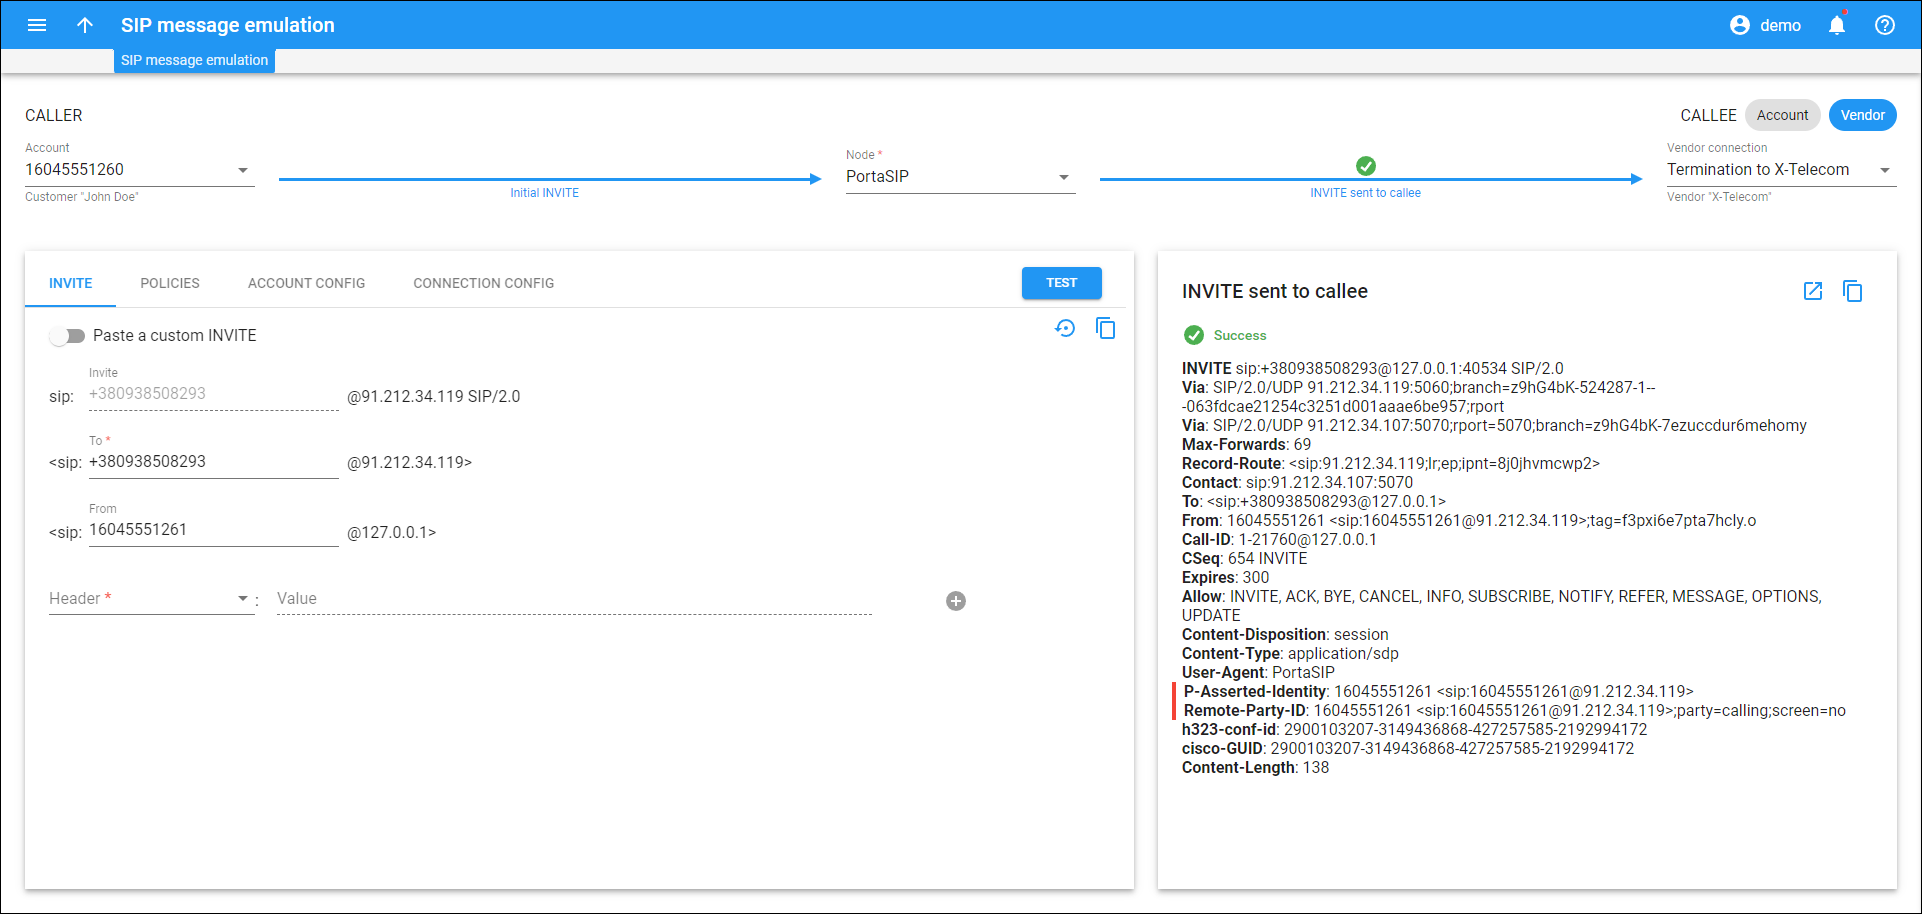
After you fill in the details and click Test, you can see the example of the outgoing INVITE message that can be passed to the vendor with the current configuration. You can check what privacy/identity headers will be passed on in this message.
To copy the outgoing INVITE message, click Copy ![]() .
To open a log for the emulated call, click Log
.
To open a log for the emulated call, click Log ![]() .
.
Trying different configurations that may impact the privacy/identity headers
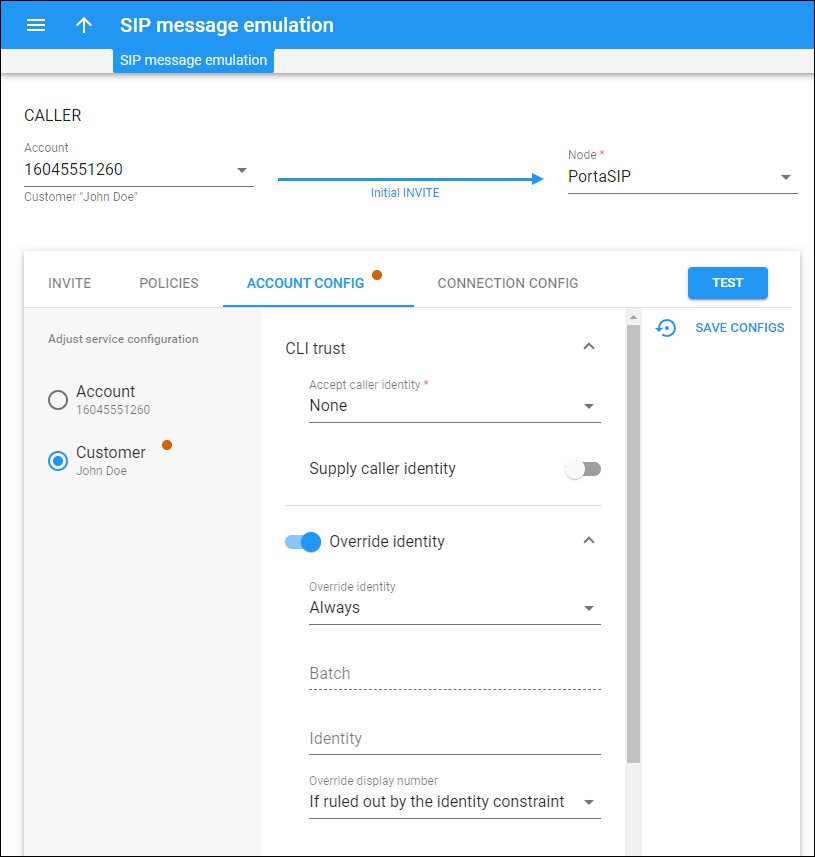
You can change the options that may impact the privacy/identity headers on the corresponding tabs:
- Policies – the options applied via a service policy, e.g., the “Outgoing headers trusted” attribute.
The dynamically matched service policies are not considered in the emulated calls. If you use a dynamically matched service policy, it may apply to calls where specific equipment is used. So, the INVITE message in a real call may differ from the emulated one. To consider the impact of a dynamically matched service policy, you can create a static service policy with the same configuration and apply it to the tested entity.
- Account config – the options applied at the account/customer level for the calling/called party, e.g., “Override identity.”
- Connection config – the options applied at the connection level, e.g., “Supply caller identity.”
How to reset the configuration changes
To reset changes that you have made on the Policies/Account config/Connection config tab, open the corresponding tab and click Reset changes ![]() .
.
How to save the configuration for a specific entity
Once you find a suitable configuration, you can save the changed settings for specific entities by clicking Save configs.


