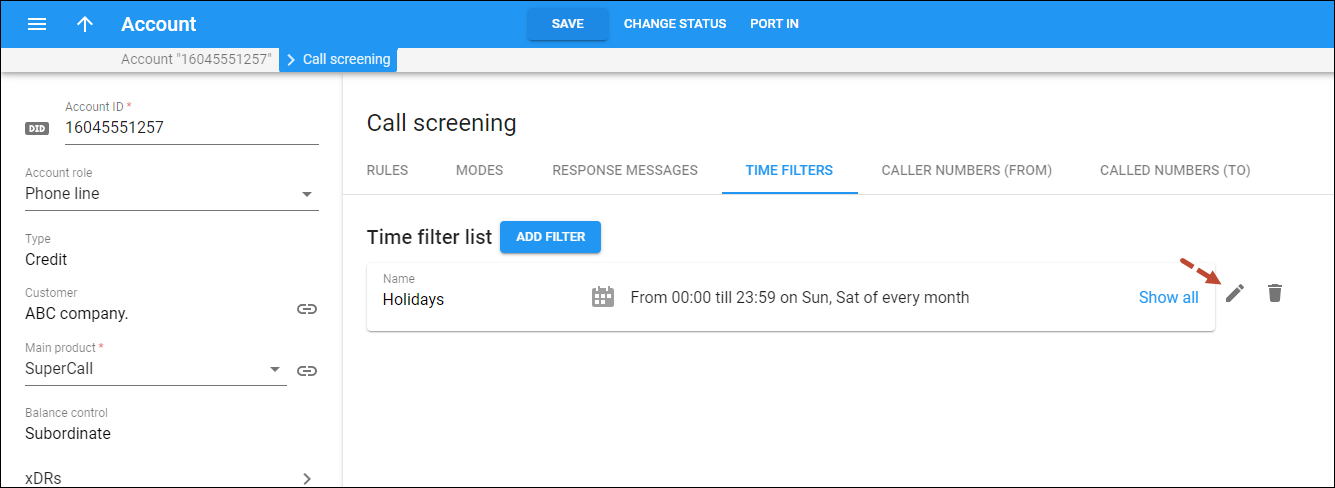
A time filter is a time interval (or a set of time intervals) that can be used in a call screening rule and defines when that rule is active.
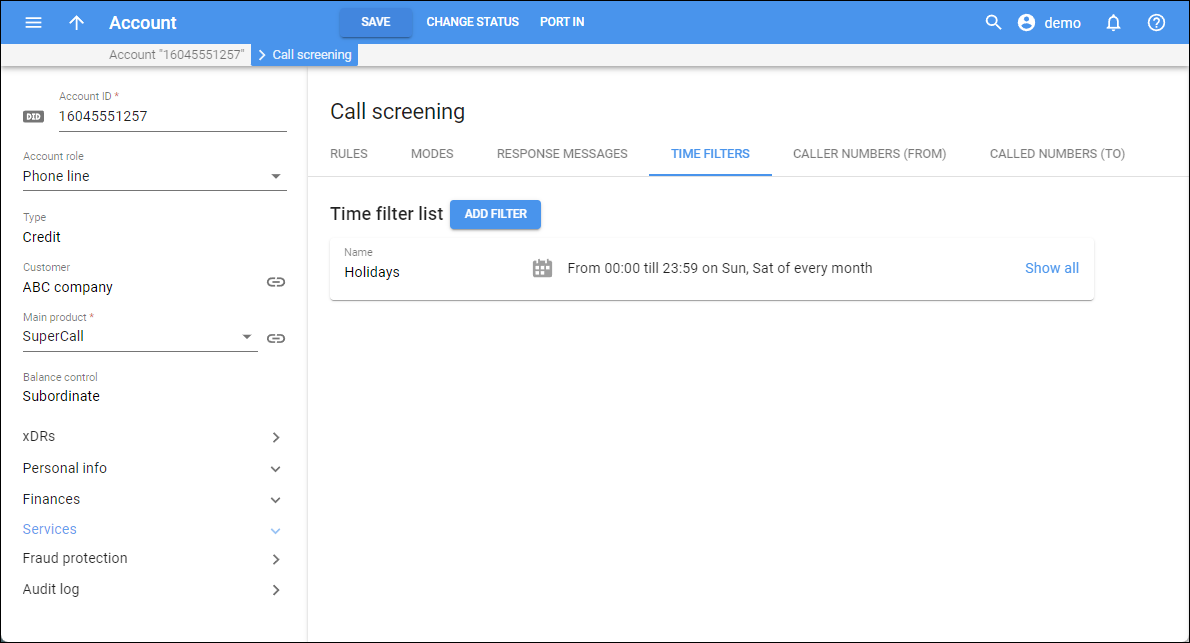
How to add a new time filter
To add a new time filter, click Add filter. In the dialog that opens, type the name of the time filter and click Save. Then, specify the details in the dialog that opens:
- Time – define the time for the interval:
- Start time – define the exact time when the interval starts.
- End time – define the exact time when the interval ends.
- Days – define the days of the week and/or of the month for the time interval:
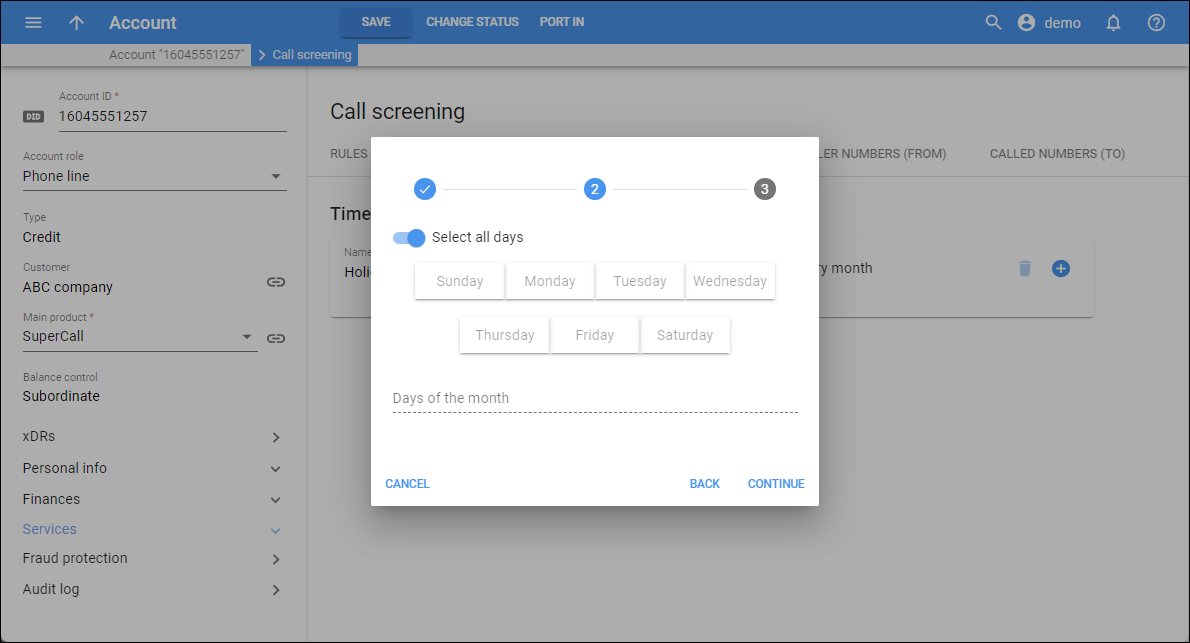
- Days of the week – click on the specific days of the week.
- Days of the month – specify days of the month as comma-separated values, e.g., 1, 4, 5. To add a period, specify the values separated by dashes, e.g., 15-30.
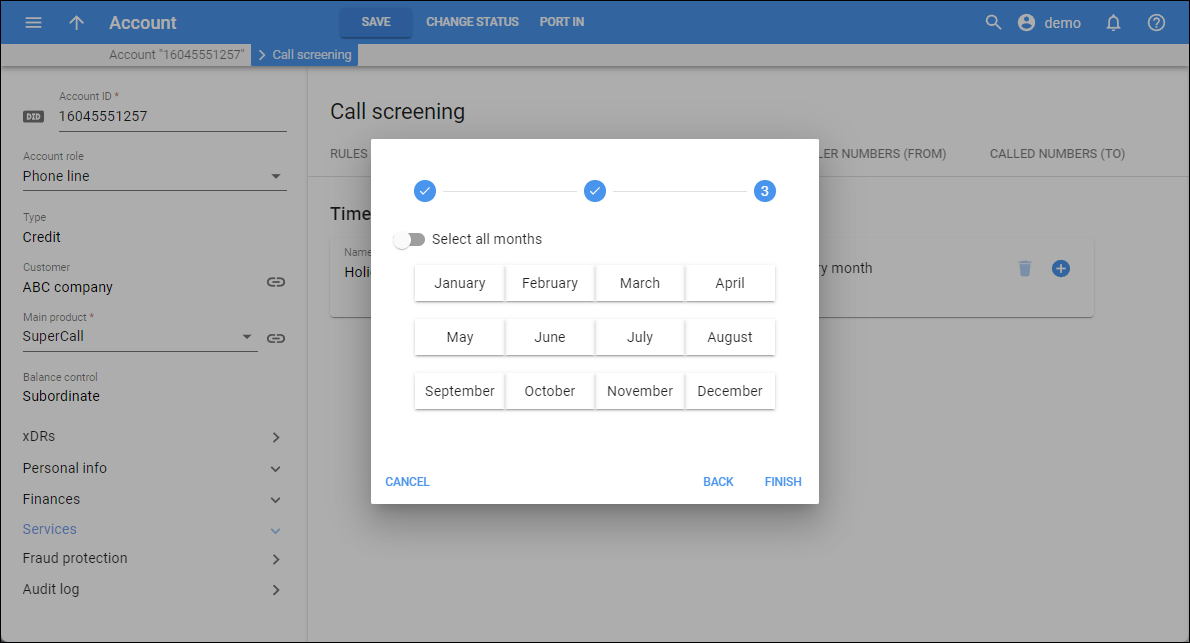
- Months – click the names of the months.
- Click Finish to save the time interval.
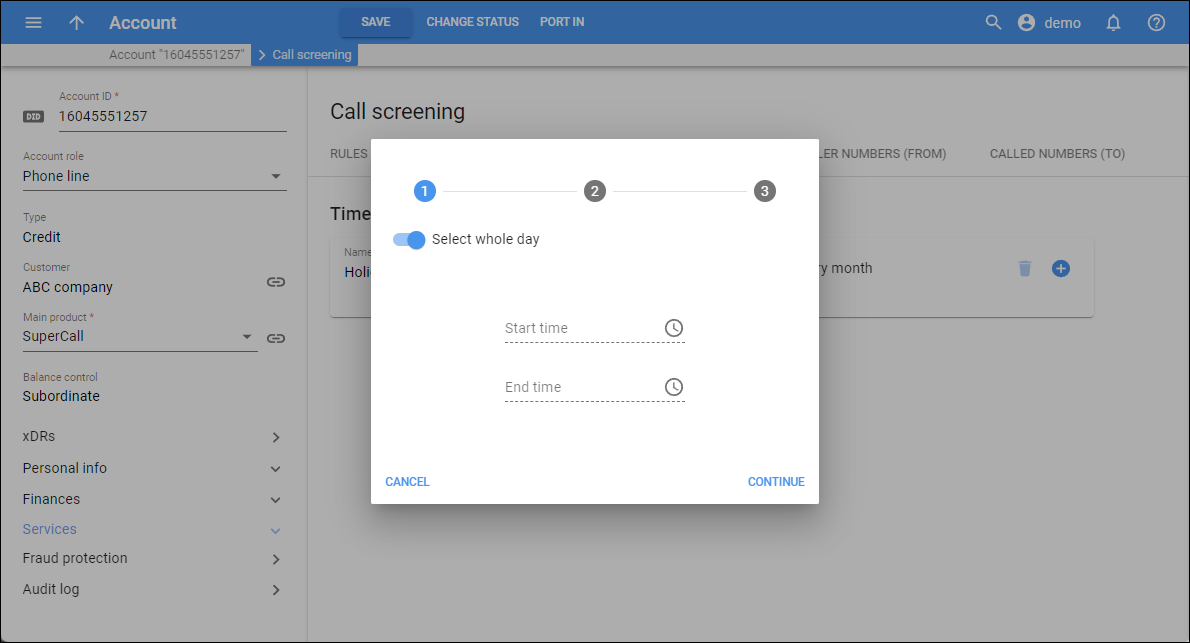
If you want the time interval to take the whole day, turn on the Select whole day toggle. Click Continue to proceed with the time interval configuration.
If you want the time interval to apply to the whole month (all days), turn on the Select all days toggle.
If you want the time interval to apply to all months of the year, turn on the Select all months toggle.
How to change the name of a time filter
To change the name of a specific time filter in the list, hover over it, and click Edit . In the dialog that opens, specify the new name, and click Save.
